Sew A Valentine's Paper Hearts Zipper Pouch
Celebrate Poppie Cotton's 12 Days of Valentines with these super cute paper heart-inspired zipper pouch tutorials
Welcome to the 12 Days of Valentines tour with Poppie Cotton! Are you ready to fall head-over-heels for some lovable creations??
I've designed some sweet zipper pouches inspired by paper hearts in delicious Poppie Cotton fabrics ... introducing the Paper Hearts Pouch!
These cuties aren't just your ordinary pouches—they're deliciously squishy yet wonderfully structured - something that hand-quilting with love tends to do!
There are two versions to choose from today - depending on how many hearts you feel like making.
The first version has three hearts sewn to the front and a key charm on the front - it's simple and sweet and looks just stunning in the pink strawberry print from Garden Party.


The second design is my favourite pouch design - it's the more decadent version where the hearts are bursting out of the side of the pouch! So fun!
I've hand quilted both sides of this pouch with a different pattern in Perle 8 thread. It's big stitch quilting that's relaxing and forgiving and is the perfect way to give hand quilting a try if you're new to it.


I love the 3D effect that the hearts have on both of these pouches. The hearts are just backed with interfacing, then edged with satin stitch and cut out. It's such an easy effect to achieve, but packs a real punch while still being super functional.
I've also added a small piece of piping to the sides of the red version which you can try if you'd like to give this a go!

Both these pouches are super gift-able but let's face it - you won't want to give them away!
Let's get sewing!
To make this you will need the free printable below and sewing supplies to get started. This is a basic lined pouch construction with some fun details added on to the front that make it really pop!
Here's the Poppie Cotton fabrics I've used:
Hearts: Confetti Basics
- Strawberry Lemonade Light Pink
- Cotton Candy Dark Pink
- Petunia Bright Pink
- Chili Pepper Red
Pouches: My Favourite Things
- Favourite Things Natural
- Pinkie Promise Yellow
- Rose Petals Natural
- Naptime Multi
I've also used a print from Garden Party called Strawberry Fields Blush. Ask for these prints at your local quilt store.
Supplies:
Print out the FREE printable, making sure your printer is set to no scaling and print at full size. Then check your scale square measures exactly 1 inch by 1 inch.

Hearts
- [2-4] 5” squares in Pink/red prints
- 5” x 20” medium fusible interfacing (Pellon CF808)
Pouches
- [2] 10.75” x 5” Exterior Front & Back
- [2] 10.75” x 5” Lining
- [2] 10.75” x 5” Medium weight woven fusible interfacing (Pellon SF101)
- [2] 10.25 x 4.5” Fusible Fleece/Batting (Pellon 987F)
- 10” metal zipper
- Coordinating Perle 8 thread for hand quilting
- Metal key charm
- Leather cord to loop through the zipper pulls
Notions
- fabric safe pen
- binding clips
- quilting needle
- thimble
Making the hearts
Cut out the heart shapes from the printable.

Fuse the interfacing on to the wrong side of your pink/ red fabrics following the manufacturers instructions. Trace of variety of heart shape templates onto the right side of the fabrics.
For Pouch #1 you will need 1 large heart, 4 medium hearts and 5 small hearts.
For Pouch #2 you will need 1 medium heart and 2 small hearts.
To edge the hearts, set up your sewing machine for satin stitch with a 2.2 stitch length and 2 stitch width.

I like to use an open toe foot on my machine for this so that I can clearly see what I'm doing.
Stitch inside the line keeping your stitches perpendicular to the line at all times and pivoting with the needle down at the bottom and top of the heart.
Cut out each heart carefully getting as close as you can to the stitches without cutting through them.

Press the hearts and spray with extra starch for stiffness then set each heart with a tailors clapper if you have one to make them super flat.
Preparing the pouch pieces:
I like to fuse woven interfacing to my fabric before adding the fleece/batting to prevent stretching. Fuse the woven fusible interfacing onto the wrong side of each Exterior piece of the pouch followed by the fusible fleece.
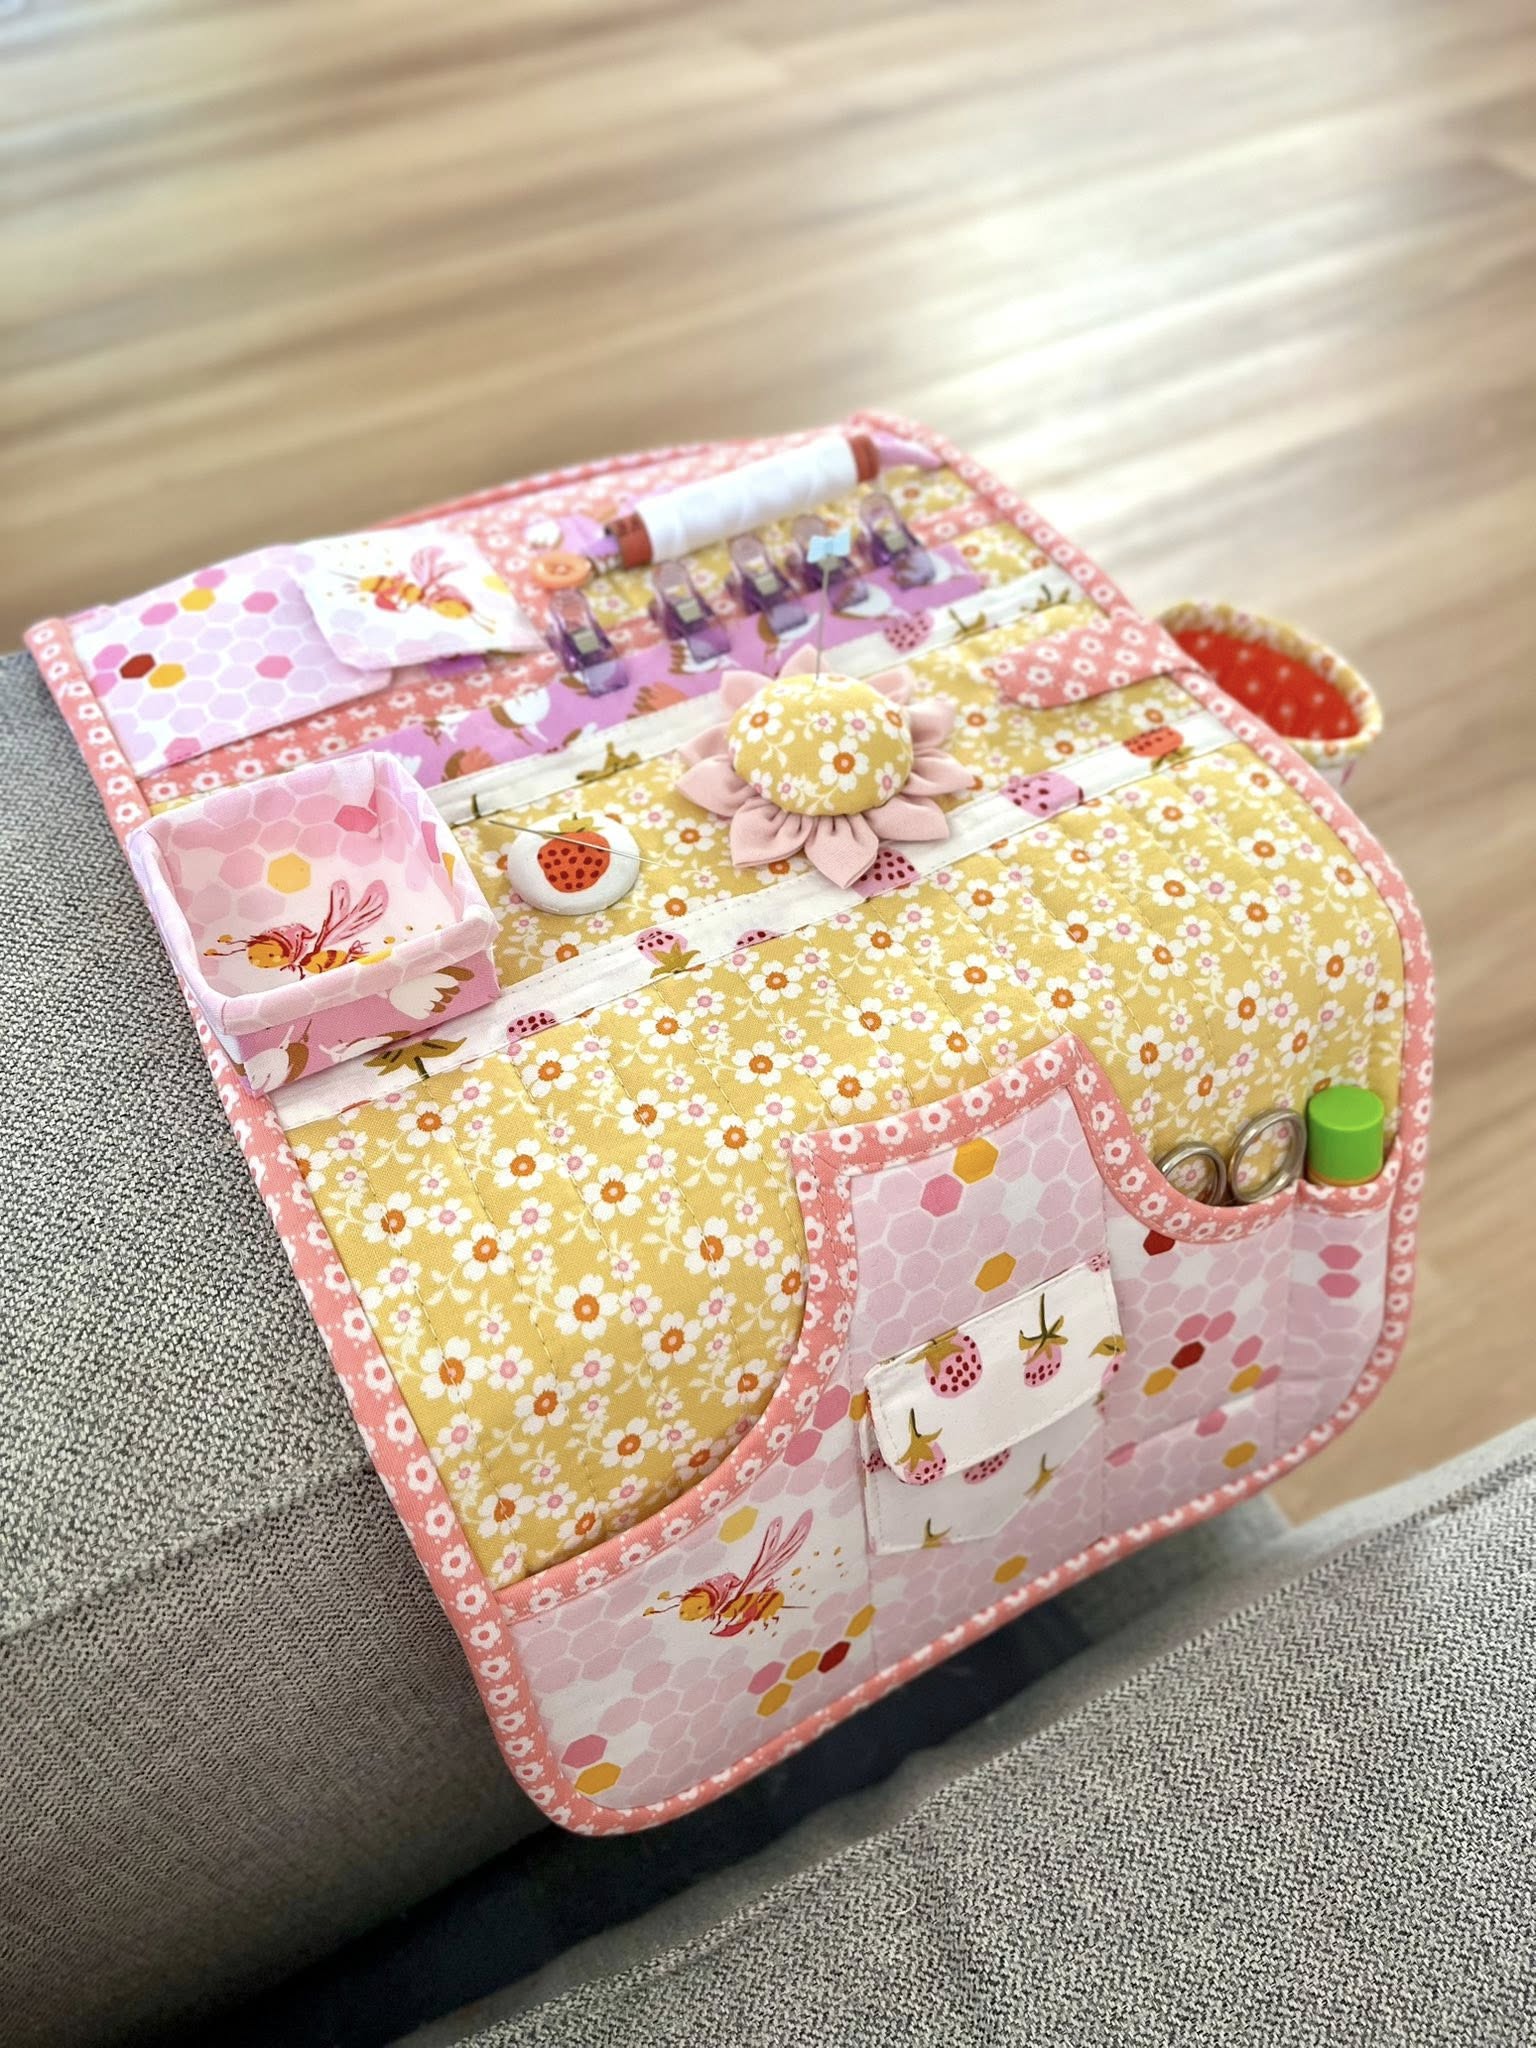
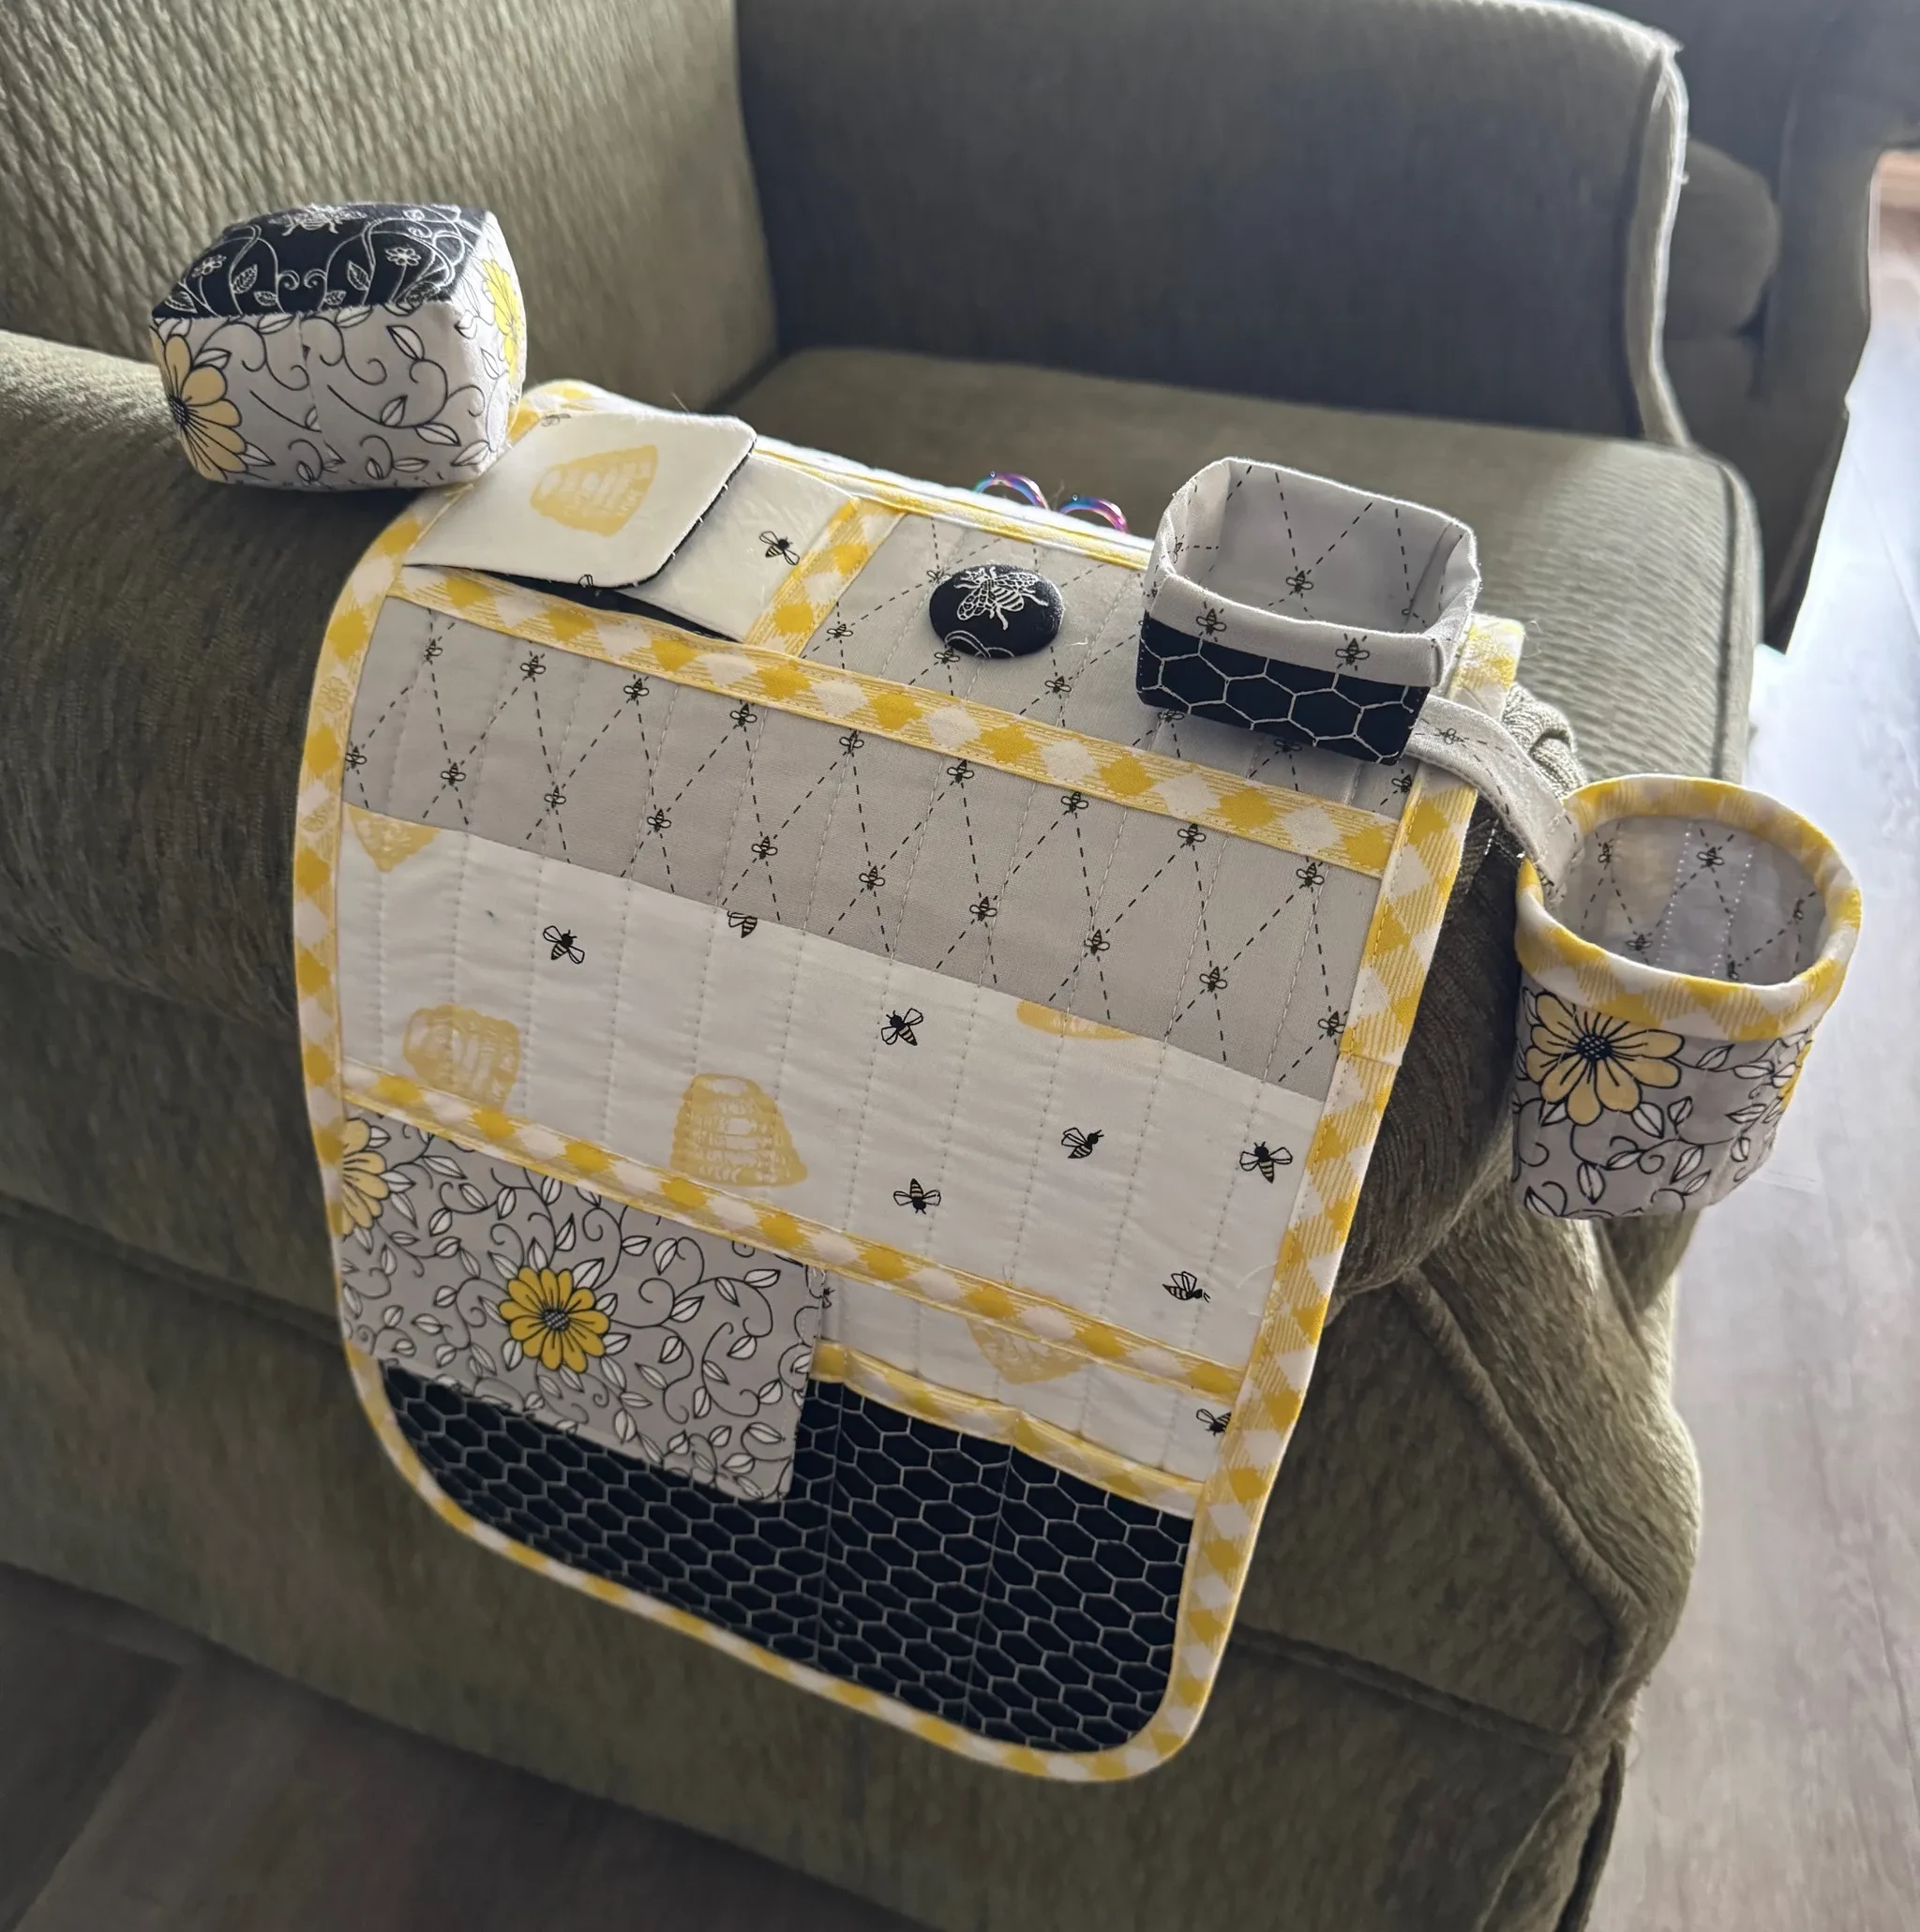
Mark lines using a fabric safe pen on each of the exterior pieces of the pouch and quilt lines across the fabric, or hand quilt pretty stitches along the lines for an even more charming affect. (This is a great activity to save for the evenings while you're on the couch with your Smart Sofa Station!)
Cut out the pouch template from the printable and pierce each of the dots with a pin or stiletto.
Choose which of your Exterior pieces will be the front of your pouch. Centre the template onto the Exterior and mark through each of the dots to mark the placement of the hearts. Take one of your hearts and and line up the top and bottom with the corresponding pair of dots. Stitch in place. Fold the heart out of the way and sew the next heart in place until they are all sewn on.

Prepare your zipper by folding under the top ends of the zip and stitching in place or glue basting.

Attaching the Zipper:
- Place one Exterior fabric rectangle right side up.
- Lay the zipper face down along one edge of the fabric, aligning the zipper tape edge with the fabric edge. Clip together and baste.
- Layer one Lining fabric rectangle on top of the zipper, right side down, sandwiching the zipper in between. Stitch along the edge using 1/4 inch seam allowance. Stop and move the zipper pull out of the way When you come to it and then resume sewing.
- Press the lining fabric away from the zipper
- Top stitch along the edge of the zipper on the exterior making sure the lining is out of the way

- Repeat the process for the other side of the zipper, using the remaining outer and lining fabric rectangles.

Constructing the Pouch:
- Important! Open the zipper halfway
- With right sides together, separate the layers and place the Exterior fabric pieces right sides together and the Lining fabric pieces right sides together, matching up the raw edges. Make sure that the seam where the Exterior and Lining meet is also aligned and that the zipper teeth are facing towards the Lining side.

- Stitch around the entire pouch, leaving a 2.5" opening on the Lining for turning through.
- Mark a 3/4" box on each of the corners and cut out.
- Reinforce each of the cut edges by stitching again.

- Open out the layers line up the seams.
- Sew across the new straight edge to box the corners.
- Repeat for all 4 corners.

Finishing
- Reach through the opening in the Lining and carefully turn the pouch right side out.
- Push out the corners of the zip and each of the bottom corners.
- Hand stitch or machine stitch the opening in the Lining closed.
- Press the pouch carefully to smooth out any wrinkles and give it a polished look. Arrange the hearts so that they stand up off the pouch slightly for that paper heart look.
- For the Pouch #2 hand stitch the charm to the centre heart
And you're done! Congratulations on making it through!

I hope you've enjoyed sewing this along with me today:) Now fill these beauties with some Valentine's inspired goodies and gift if you dare!
I'd love to see if you make one (or many!) of these so share to social media with the hashtags #PaperHeartsPouch and tag me @arabesquescissors and @PoppieCotton.
Join my Facebook community

If you're a social bee, get involved with over 1100 sewists, quilters, and creators from around the world. Share your creations and get inspired!


