Meet the Crafted Life Companion
Discover a beautiful sewing pattern made to bring meaning and intention to your life.
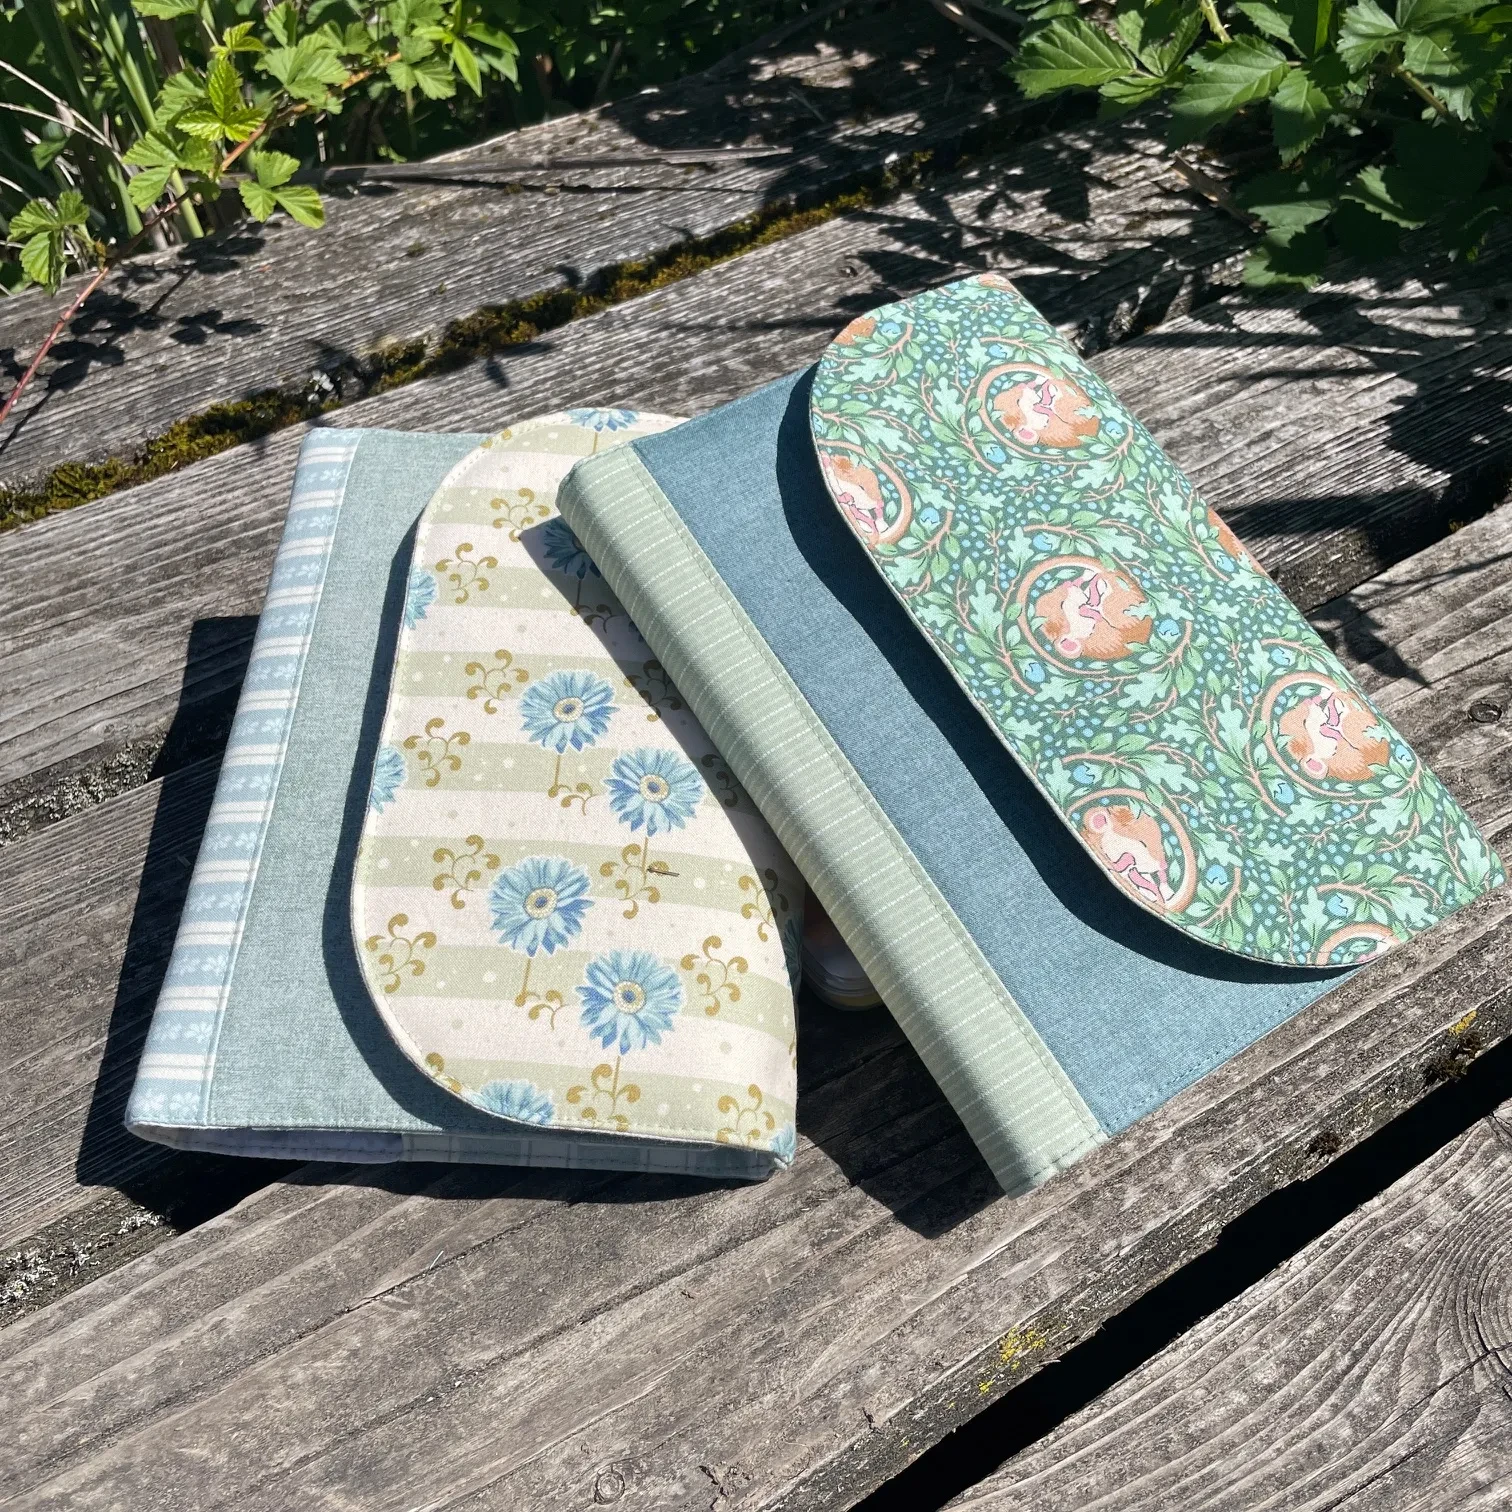
I’m so excited to introduce you to the Crafted Life Companion, a sewing pattern to make notebook cover for your journal, diary or project planner. It’s a beautiful design packed with storage and loads of options for customising this to your personal preference.
It’s perfect for sewists who love to stay organized, jot down thoughts, or plan projects in a thoughtful, creative way. But this pattern is more than just a notebook cover—it's a tool for mindful, intentional living. I've written this as a thoughtful pattern encouraging you to slow down, enjoy the process, and create something personal as part of the experience.

This design has been a twinkle in my eye for several years now - and it was finally the right time to bring it to life!
I adore stationery and have ever since I was a little girl. That fresh box of coloured pencils, that new notebook just waiting to hold the best of what my imagination had to offer - all those delicious feeling of possiblity! And when I started to design patterns I realised that the stationery effect could be recreated in fabric. Yes please!!

This project is the perfect blend of paper stationery and fabric fun - a stylish, unique look, texture and padding, pattern and colour, all wrapped up in cover that you create yourself.
The pattern itself is packed with details and great step-by-step instructions and I have a complete tutorial video to take you through it as well that you can watch here:
So I’ve put all your most asked questions into this post—a space where I’ll be sharing helpful tips because I want you to feel as confident as you can while sewing this.
So grab your notebook, your fabric, your pattern, and let’s dive in!
Printing Your File at the Correct Size
This is a project where the size really matters because the pattern is designed to fit an A5 (6” x 8.5”) notebook. If the template pieces are the wrong size, it's likely not going to fit! There is some tolerance built into the pattern, but things can get out of hand really fast if you’re not paying attention.
Sewing success starts by making sure you’re printing at the correct size.
How to print at 100% or Actual Size:
When you’re printing your PDF pattern, make sure your printer settings are set to 100% or "Actual Size", which means you actively need to turn this feature off. Do not scale the pattern. Some printers and devices default to scaling the files to fit the page, which will lead to your pieces being the wrong size.
Often a phone or tablet will scale by default and you can't turn this off, so be aware of this and send your file to a computer or laptop if it's not printing at the correct size.
CHECK:
Measure the test square included on the first template page—measure it carefully to ensure it’s exactly the right size before cutting out your fabric.
When it’s exactly 1 inch square, you should NOT be able to see any of the sides of the square under the lines on the ruler - they will be hidden underneath the lines on the ruler. If you can see even a little bit of the sides of that scale square, this means that it's too small, and the resulting templates will be approx 10% too small, which won't fit your notebook!
Top Tip: To avoid wasting paper, just print the page with the scale square on to begin with until you’re sure the size is correct. Once it is, go ahead and print the rest.
Sewing with the Right Tools
The Crafted Life Companion pattern involves working with layers of fabric and interfacing. These three basic tools are important for hassle free sewing:
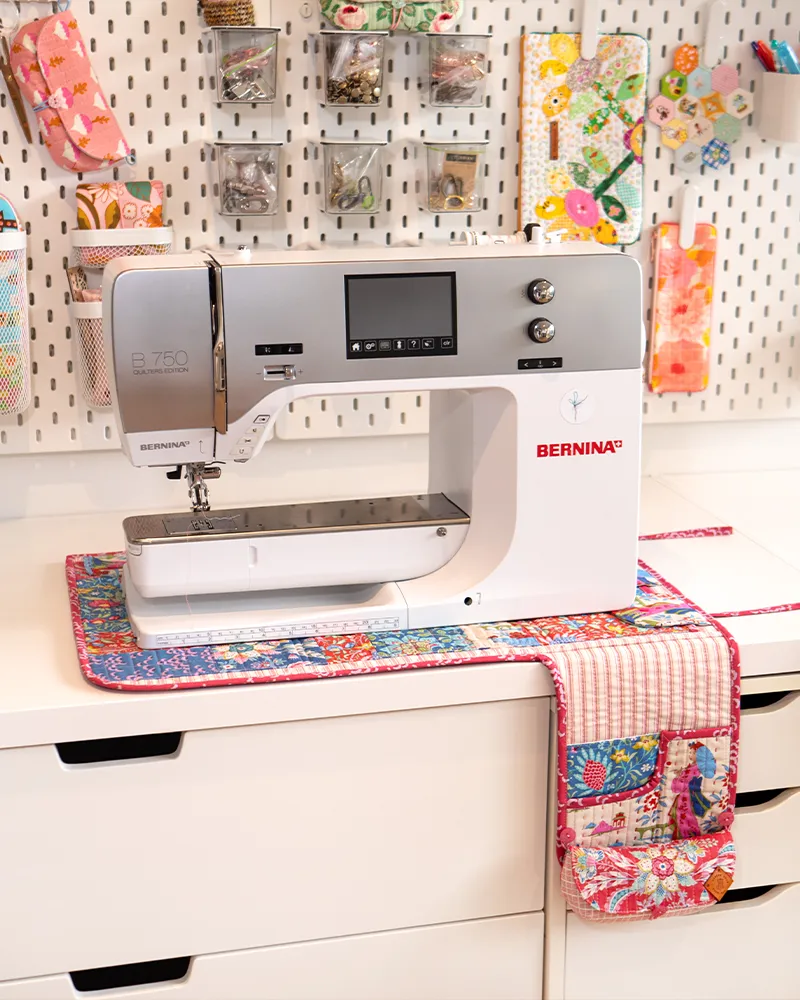
A decent sewing machine:
An entry level sewing machine often doesn't have the ability to cope with sewing several layers because a very basic model just doesn’t have the torque (turning power) to punch through layers and do a good job.
It's often enough to make you throw in the towel and give up because you think it's your lack of ability. But sometimes the culprit can be a $99 machine you often see on sale at Spotlight or other big box habby stores.
The good news is you don't need a super expensive machine either. Try asking to borrow one from a friend or find a second hand model on Gum Tree - there are some great deals to be had.
Needle size:
Use a size 80-90 needle—which is great for medium-weight fabrics like cotton. This will help your sewing machine glide through multiple layers without breaking or skipping stitches.
Thread:
I recommend polyester thread for this project.
Cotton thread, while beautiful for quilts, isn't strong enough for the construction process where seams are pushed and pulled on firmly. It’s also a lot more durable for a functional project that will get a lot of use. I use good ol’ Gutermann polyester most of the time.
Interfacing: The Secret to Structure
If you’ve ever wondered how to give your cotton fabric projects structure, interfacing is the answer. For the Crafted Life Companion, interfacing is crucial to give the shape and to keep your notebook cover sturdy and professional-looking.
Why Interfacing Matters:
Cotton fabrics come in a lovely range of prints and are easy to sew with, but they are too soft and floppy for structured projects. Adding interfacing stops the fabric from stretching and sagging, makes it more durable, and gives it an entirely new structure when you need it.
I use 3 sorts in this project and layer them to achieve the perfect look:
- Medium weight woven fusible interfacing
This is a woven interfacing that fuses to the reverse and matches the look and feel of the fabric, without changing the texture. It’s great if you have a light coloured fabric as it prevents darker fabrics shadowing through it. I recommend using Pellon SF101 or any other equivalent brand. - Heavy weight fusible interfacing
This is a non-woven synthetic interfacing that is very stiff, but also flexible and easy to sew through. I use this to give the exterior flap it’s rigid inside structure. I recommend Pellon Peltex 71F or any other equivalent brand. - Fusible Fleece
This is technically not interfacing, but it goes inside the fabric layers as padded wadding or batting that adds dimension and softness. It’s easy to work with, and add extra charm. I recommend Pellon 987f or any other equivalent product.
Where to Buy:
In Australia you can find these interfacings at Spotlight stores here:
- Birch Shape to Create (sub for SF101)
- Legacy 71F - direct substitute for Pellon 71F
- Legacy Fusible Fleece - direct substiture for Pellon 987F
In the US you can find these at fabric stores like Joann Fabrics, Mood Fabrics, or online at Amazon and bag specialty shops.
Buying the Perfect-Sized Notebook & Notepad
Notebooks to fit the Crafted Life Companion are widely available worldwide as bullet journals and lined and blank books. Here are some great places to find A5 (6” x 8.5”):
In store (Australia)
- Target and Kmart
- Officeworks
- Most newsagents and supermarkets
In store (US)
- Target, both in-store and online
- Walmart, both in-store and online
Online:
- Etsy has a wide variety of beautifully designed A5 notebooks
- Amazon offers a range of A5 notebook options
If you're going to add the notepad insert into your cover, you'll need a notepad that measures up to 4" x 8.25". You can find a selection of place to get these here.
Make sure to double-check the measurements of your notebook before starting to ensure it will fit snugly within your cover.
Where to find Snaps & Hardware
I like to use either Kam Snaps (size 20) or magnetic snaps (14 mm or 18 mm) to close this project. Both look great and work well.
There are pros and cons to both so see which one works best for your needs.
Kam Snaps Pros:
- There's a large range of colours so you can match the colours to your fabrics. I typically use unbranded snaps from Amazon as they work just as well and the colours are even brighter
- Personally, I love the sound these make when they snap - very satisfying!
Kam Snap Cons:
- You need to purchase a whole set plus the tool to put them in
- Some people struggle to insert them correctly (watch my video here!)
Magnetic Snaps Pros:
- Great range of metallic colours to choose to suit your taste
- They snap together easily when you close the flap
Magnetic Snaps Cons
- You need to purchase these from a specialty supplier online
- These can be tricky to install if you don't have a lot of strength
How to Ensure Your Project Ends Up the Right Size
The last thing you want after hours of sewing is for your project to be the wrong size.

Here’s how to make sure your Crafted Life Companion turns out perfectly:
- Print the Pattern Correctly
As mentioned earlier, always print at 100% or "Actual Size" and check the scale square. - Trace and Cut Accurately
Make sure to cut the templates out precisely, paying special attention to any curved or small pieces. Use a rotary cutter and ruler for precise cuts. - Mind Your Seam Allowance
The pattern has a 3/8” (1 cm) seam allowance, so be sure to sew consistently with the correct seam allowance. - Read the Pattern Carefully
Each step in this pattern is constructed in a particular order to ensure everything fits together really well. Pay attention to the instructions to maximise great outcomes.
Choosing Fabrics: Make It Your Own
One of my favourite things about the Crafted Life Companion is how customizable it is through fabric choices! You can sew it as written in the pattern with 3-5 prints. I've filmed a video for how to put together a fabric pull with confidence for a project just like this:
For the Spine:
I often use a small striped pattern horizontally to mimic the look of a book spine. This gives the cover a sophisticated, timeless look and adds to the stationery effect we are trying to achieve with this pattern.
For the Front Flap:
The front flap is really the star of this pattern design. A bold, large-scale print is a fantastic way to make a statement. It adds personality and makes your cover stand out.
Front and Back covers:
Try using a smaller coordinating print that works with the Front Flap and also ties in with the colour of the spine.
For the Interior:
1-2 prints inside to keep things calm and modern. Using small geometrics, stripes, or tiny prints. This creates a visually pleasing look when you open the cover, adding to the "bookish" feel. The fun part about creating a project that has an inside and an outside, is that you can use more prints than usual because you won't see them all at once. This stops the overall look being too busy and overwhelming.
Accurate Sewing for Pockets & Curves
Precision and attention to detail is key for a great result in this pattern. When sewing pockets and curves in this pattern, pay attention to each seam and work slowly, especially to ensure that everything fits smoothly and looks professional.

Here are five tips to help you achieve perfect accuracy:
- Use Pins or Clips
Secure your fabric pieces together with pins or clips to keep edges lining up and avoid slipping while sewing. - Slow Down
Sew slowly around curves, guiding the fabric gently through the machine without pulling or stretching. - Trim Seam Allowances
For sharp corners or tight curves, trim your seam allowance down by half to reduce the bulk and snip the curves to open out the pressure on the curve. - Press as You Go
Pressing your seams open after every step can help with accuracy and keep your fabric looking crisp and clean. - Topstitch Tips
Adding topstitching to pockets or along edges can give your project a polished finish while also holding the layers together along the edge. Choose a thread that matches or contrasts your fabrics. Increase your stitch length to 3-3.5 as topstitching looks great in a longer stitch and also helps you sew straighter.

Final Thoughts
Sewing the Crafted Life Companion is more than just completing a project—it’s about enjoying the entire creative process. Whether you're new to sewing or a seasoned pro, this pattern is designed to be as enjoyable as it is rewarding.
Don’t forget to check out our YouTube tutorials for extra guidance along the way, and if you have any more questions, feel free to reach out. I can’t wait to see the beautiful Crafted Life Companions you create!

The Crafted Life Companion
A beautiful journal cover for sewists and crafters to turn their humble notebook into a treasured friend.

The Crafted Life Companion
A beautiful journal cover for sewists and crafters to turn their humble notebook into a treasured friend.

The Crafted Life Companion
A beautiful journal cover for sewists and crafters to turn their humble notebook into a treasured friend.

The Crafted Life Companion
A beautiful journal cover for sewists and crafters to turn their humble notebook into a treasured friend.
Join my Facebook community

If you're a social bee, get involved with over 1100 sewists, quilters, and creators from around the world. Share your creations and get inspired!


