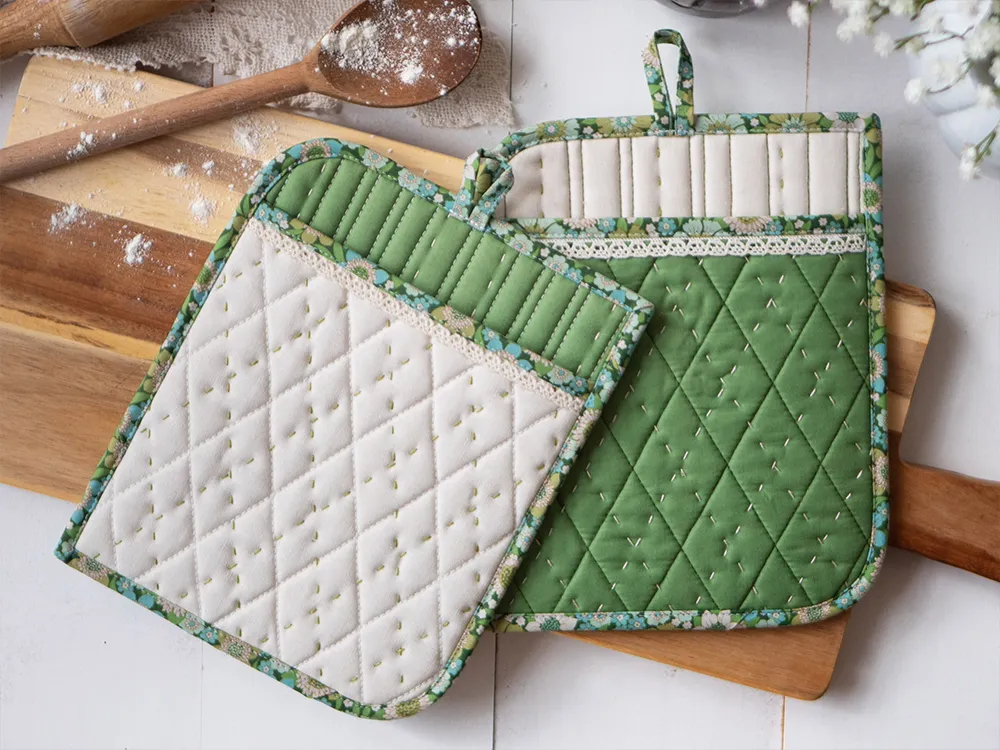
Fit your sofa, cut out your pieces, and hand quilt the base for an organised start!
Welcome to the next installment of sewing yourself an organised Sofa arm!
If you've missed the preparation post, click here to see tips on fabric selection and planning...
This article focuses on three aspects…
- measuring up your sofa arm to make sure your Sofa Station will fit perfectly your couch perfectly
- cutting out the pieces
- hand quilting the base.
Measure Up Your Sofa
The great part about this pattern is the amount of customising you can do so that you can achieve a result that really works for your own needs.
From mixing and matching the pockets, to shortening or lengthening the base, you can make design in lots of iterations!
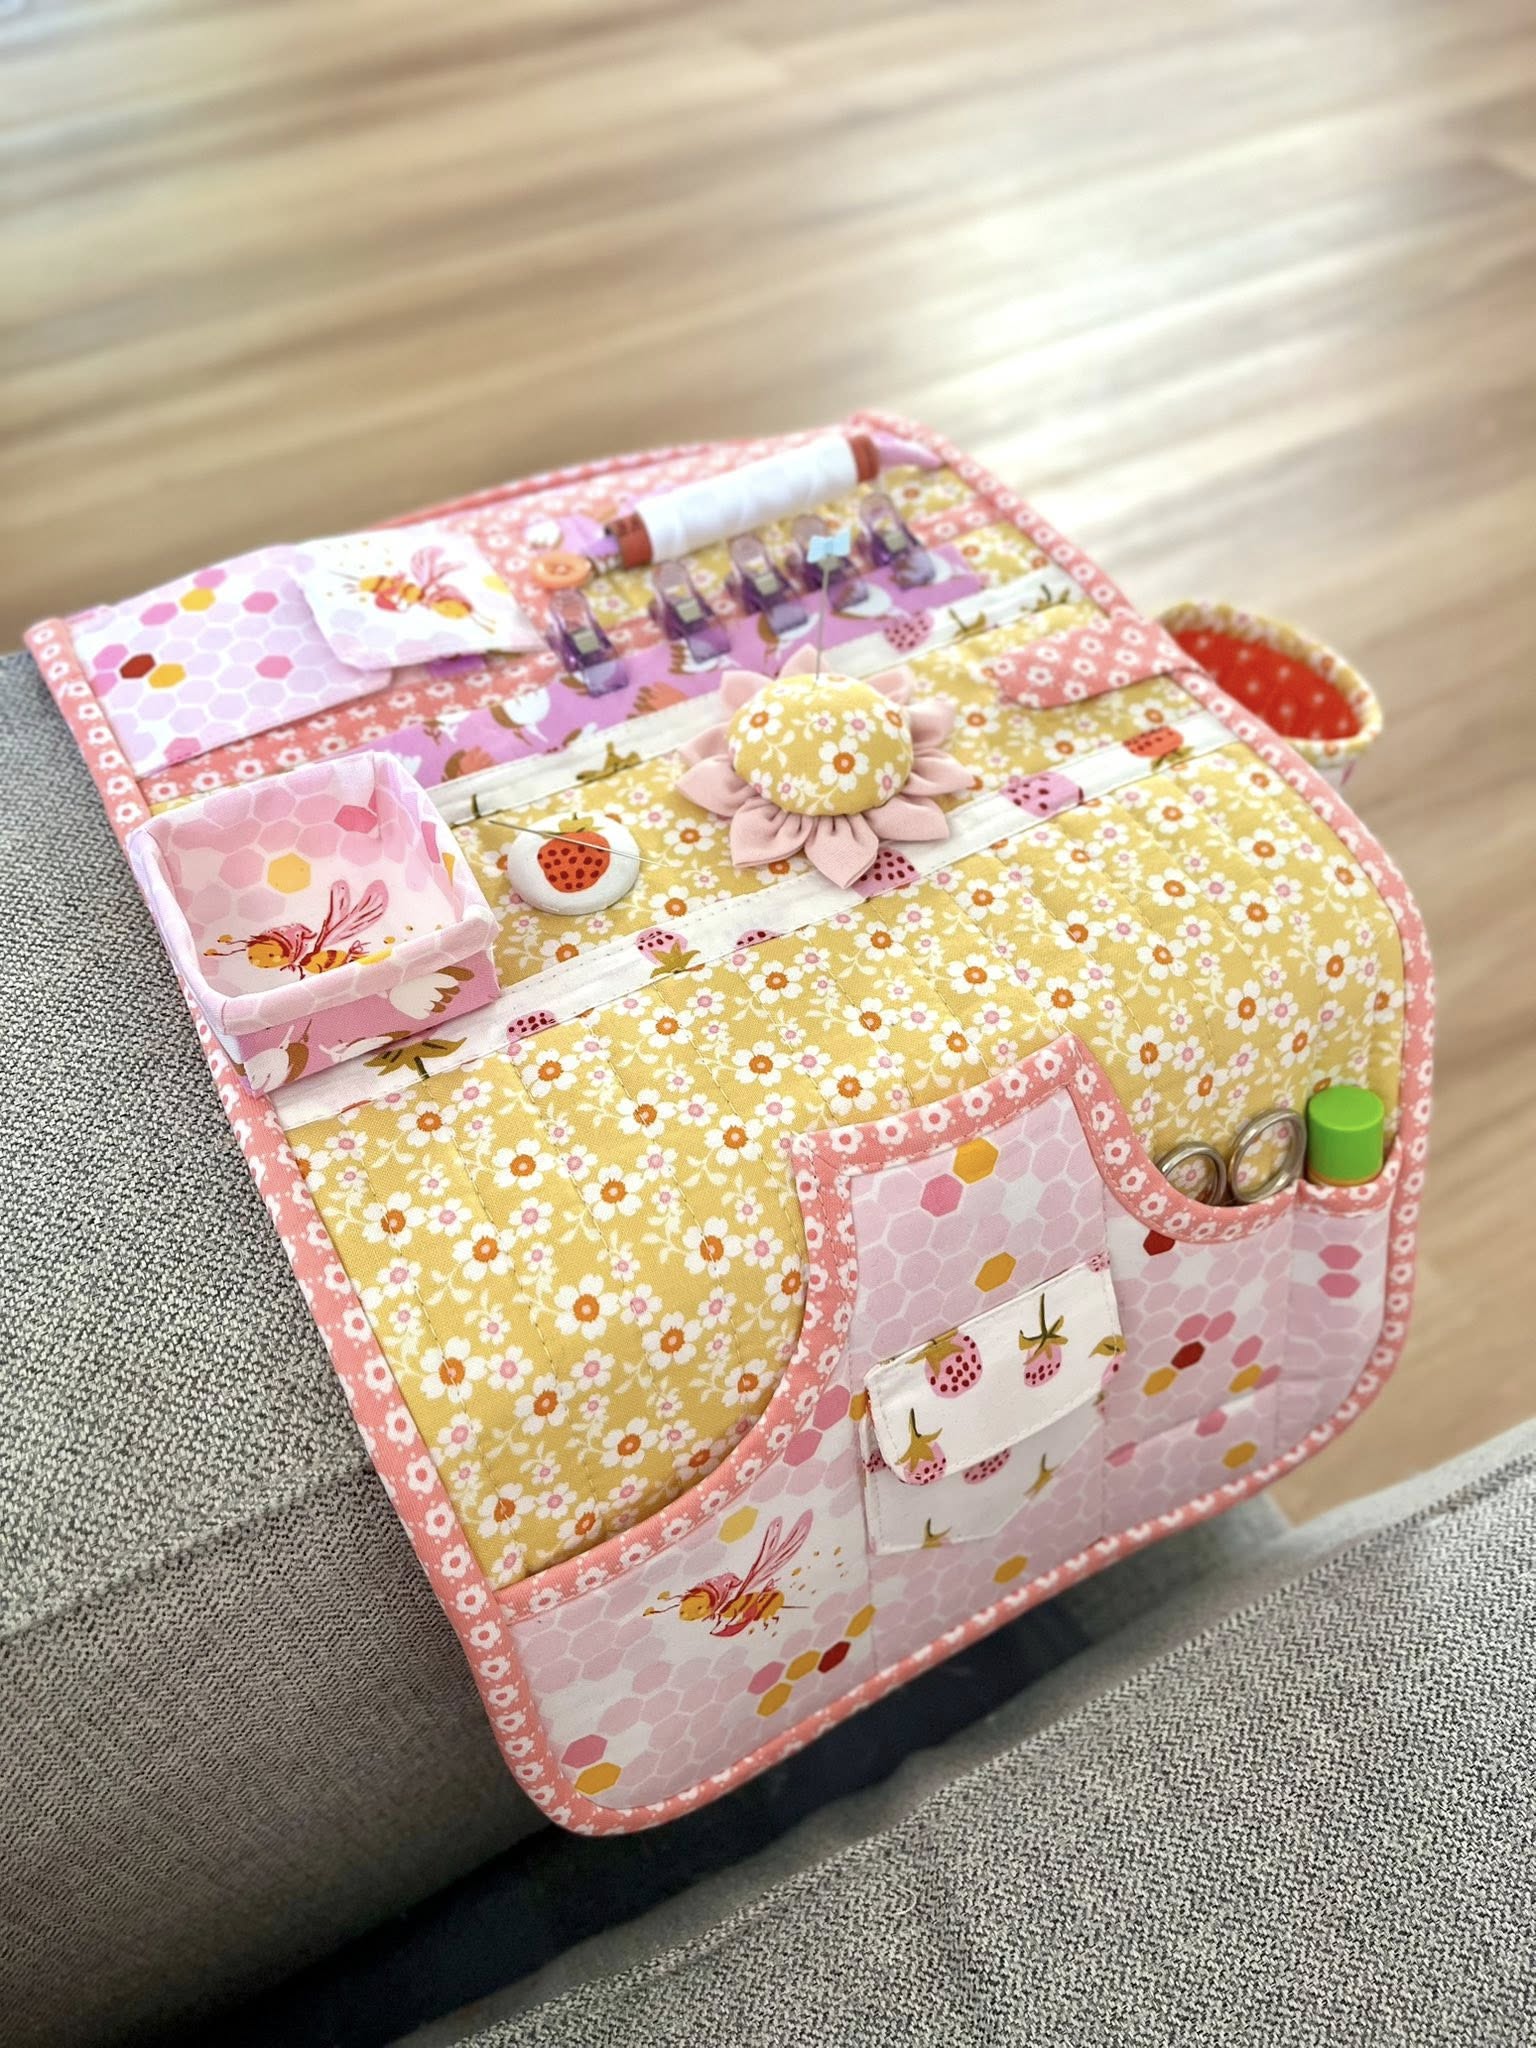
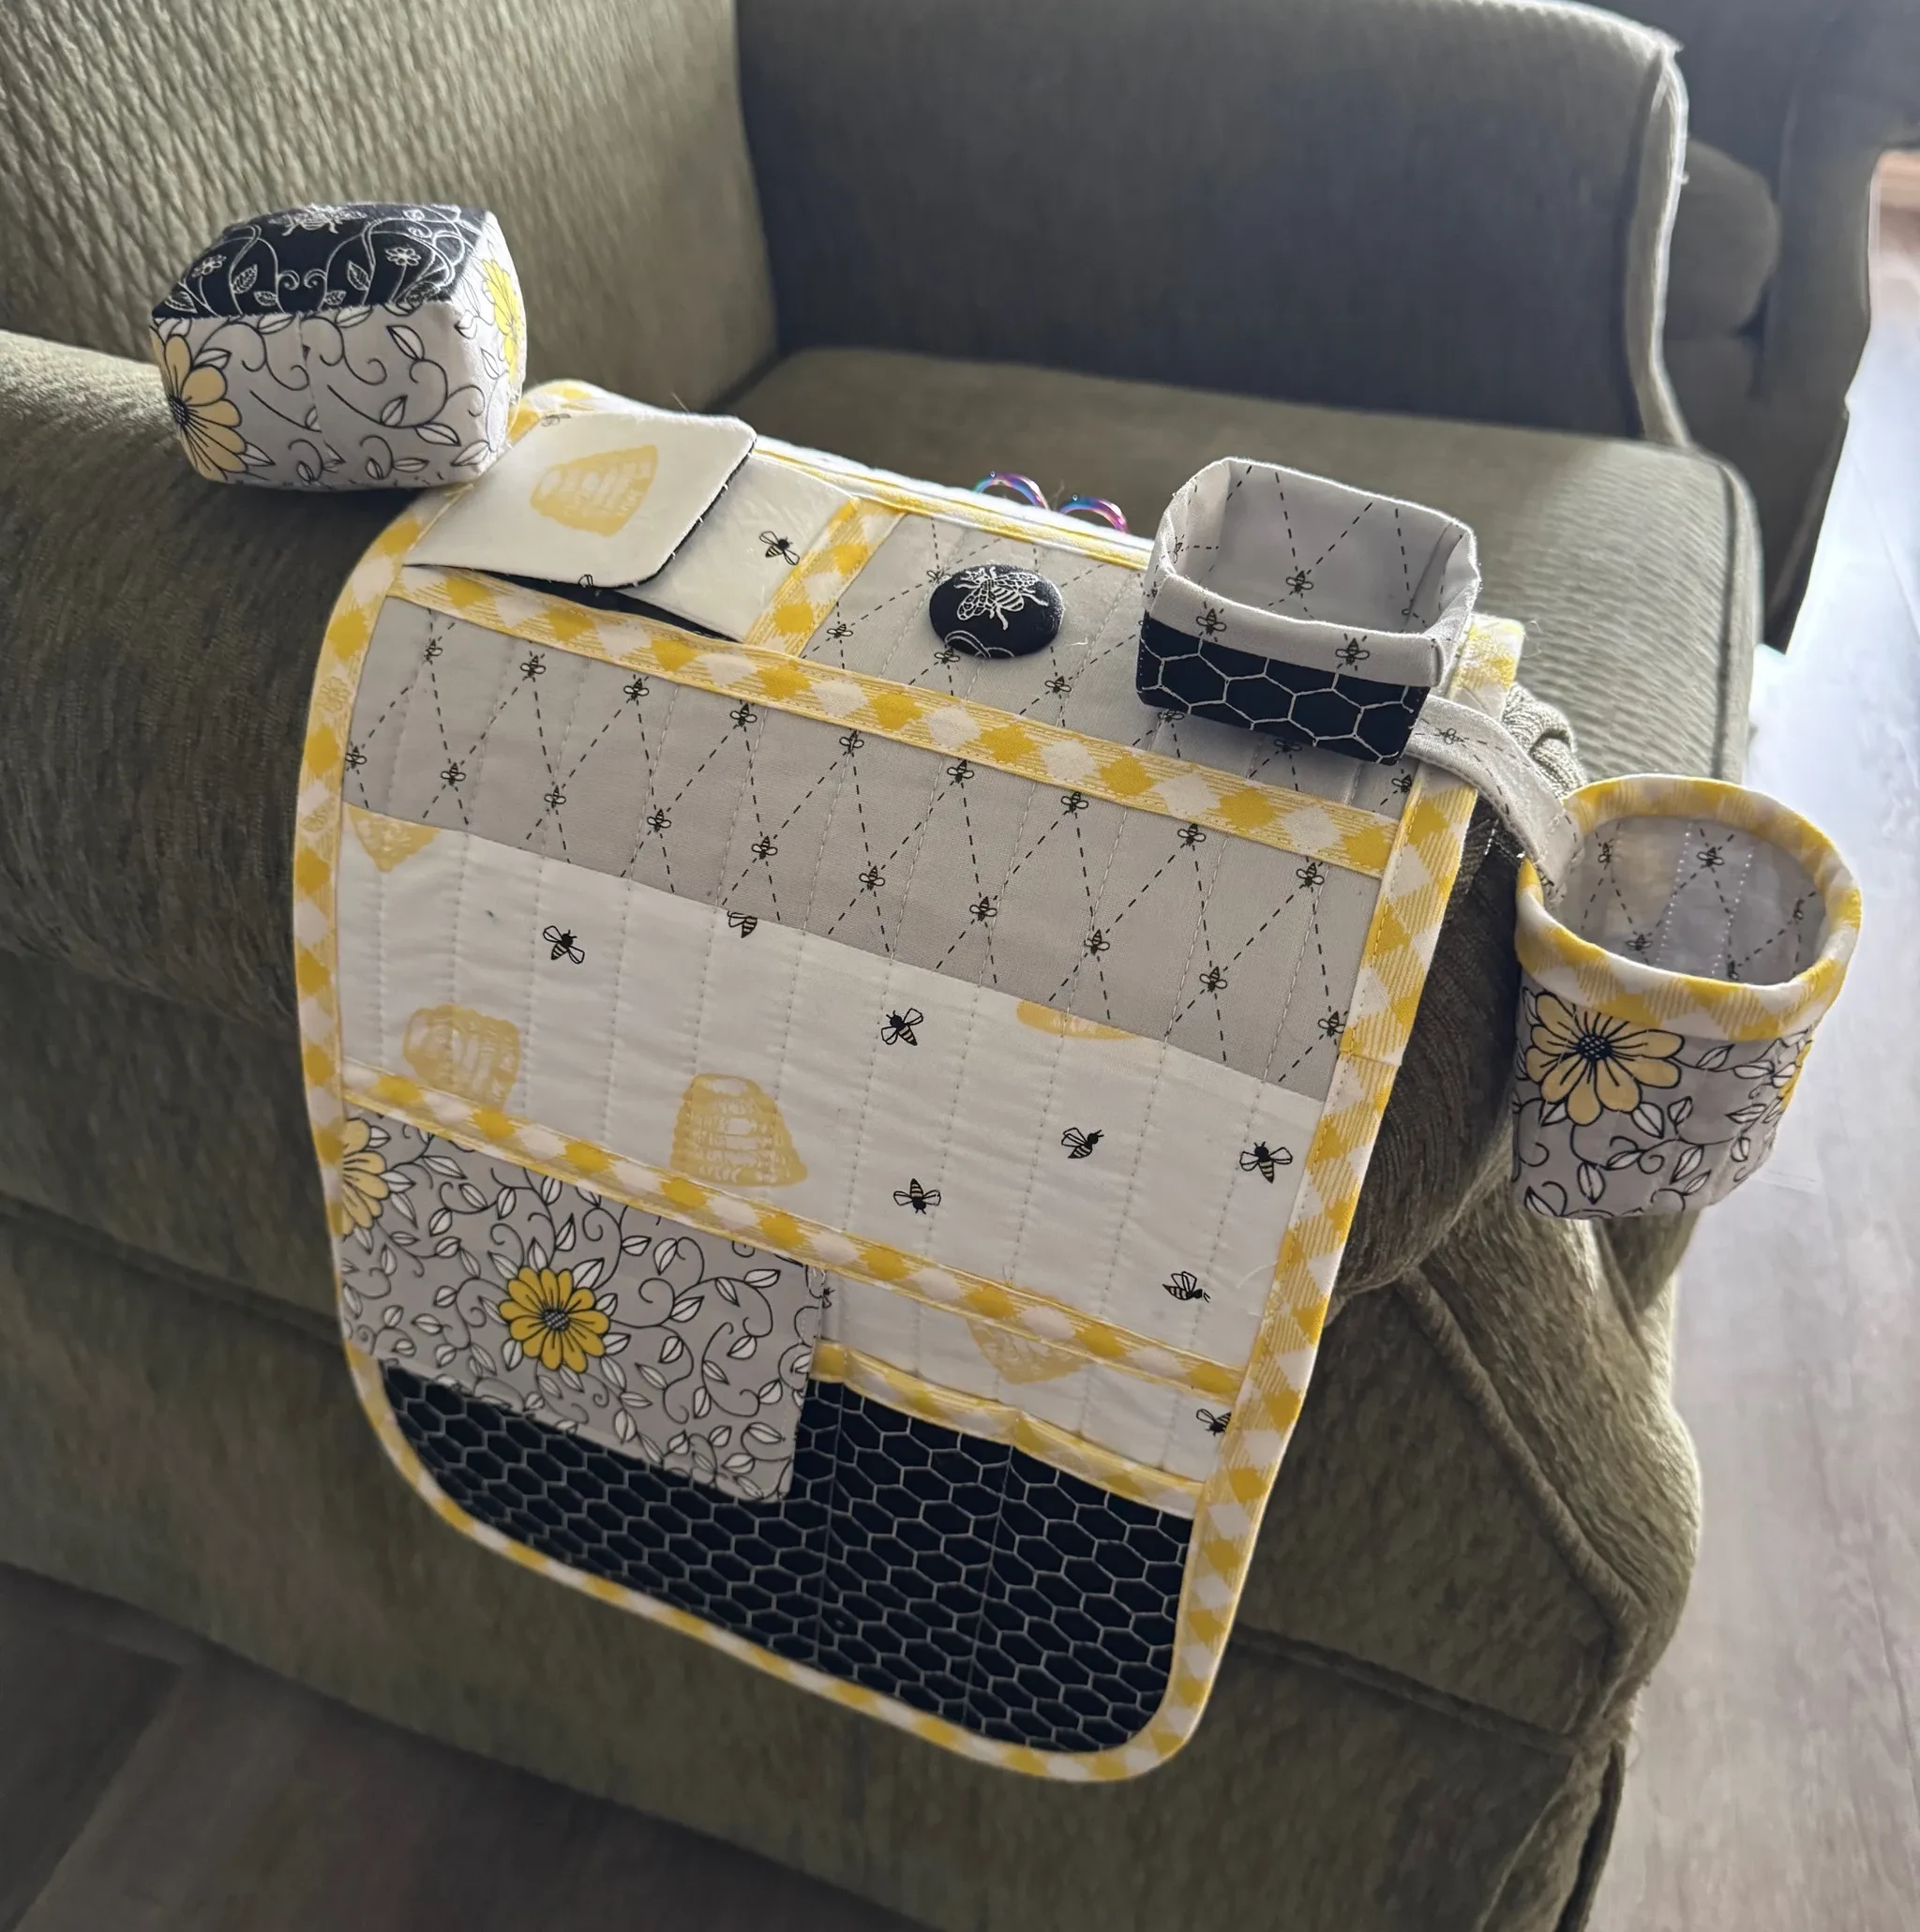
I designed the Sofa Station to be slightly asymmetric, in that the needle keeper and attachment sit at the top of the sofa arm, and the pocket hanging inside the sofa is shorter than the one hanging down the outside.
This is to ensure you have access to the more used items like scissors and pens, without them being in the way.
The less used, but perhaps larger and bulkier items are on the outside, and not interfering as you work.
The critical depth that you need to pay attention to for your sofa arm, is the distance from the centre top of the arm to the top of the sofa cushion where you sit.
You ideally want the inside pocket to finish an inch or so above it, and not be touching the cushion where it might interfere with you sitting in the chair.
The Sofa Station pattern is written to measure 10” from the centre of the needle keeper section to the end of the pocket on this side.
To work out if this will fit your sofa, take your tape measure and measure this distance on your sofa to check your depth.

You can then adjust the positioning of the needle keeper up or down, if you’d like less of an overhang inside the arm.
The base is made in two sections which can be shortened or lengthened without effecting the depth of the pockets, unless you have a really really tiny sofa arm.
Just subtract an inch or two from the base if you feel you’d like to have yours shorter.
Cutting Out the Base, Pockets, Flaps & Pincushion
By now you should have planned your fabric and layout, and if you're just joining, head back here to help you decide and swatch your design.
As you begin cutting out, grab your cutting sheet on page 5 (off the pdf) and cross off the pockets and flaps you won’t be using, to help you understand exactly what you need to cut.
Then cross off each piece including the interfacings as you cut them.

If you’re one who really likes to see everything laid out in order, make sure to use the labels on page 17 (of the pdf pattern) that are included.
I stack everything together and clip them together with the label until I’m ready to assemble.

Doing this also really helps you get a good grasp of what you'll be making, and understand the construction process even better.
Doesn't this Tilda Cotton Beach fabric look amazing!?
Assemble & Mark Up Your Base for Quilting
Don't forget to watch my YouTube video here on assembling and quilting the base.
I like to use a water soluble pen to mark my fabric where I can, but when the fabric colour makes this too hard to see, I will use a frixon pen in a suitable colour to mark my lines. These come in a huge range of colours and disappear with heat when ironed.
Some people really don’t like using these, and that’s ok! I’ve been using these on fabric for years and haven’t had a problem. However they do have limitations that you need to be aware of, so do some research if you're not sure what these are.
Another option is to mark stitching lines using a hera marker to score the fabric.
When you start stitching, don’t stress about your stitches not looking even or being super straight. Your brain will actually compensate for this when you look at it from a distance - so be kind to yourself :).

My stitches never look good to me when I’m in the middle of the process. It takes me a few starts to find my ‘groove’ or stitch distance apart that I’m happy with, so I often do half a row and pull it out a couple of times before I’m happy.
Eventually my rhythm just clicks, and they turn out ok in the end, and yours will too.
I really enjoy the hand quilting aspect of this project, and the best part is that you can relax and do this over a couple of weeks if you wish, as you don't need the base until you come to add the pockets onto it.
I hope these tips have helped you make a start, and feel confident to progress.

Head to part 4 of the Smart Sofa Station support hub to sew those ohhh so cute little bits!
Remember to enjoy the process … it’s not a race it's a journey
Ali x
Join my Facebook community

If you're a social bee, get involved with over 1100 sewists, quilters, and creators from around the world. Share your creations and get inspired!
Post Chapters

Hi, I'm Ali Phillips!
So glad you stopped by for a read! I'm a sewist with a passion for family, creativity, & organisation.


