Clever Thread Storage - Ikea Hack
A full tutorial on how to mount thread on pegboard in Ikea Alex drawers. So easy to do!
Solving a Pretty Problem
This week I set about moving my threads from their place on the wall.
I wanted a set up that was super functional, super easy to do, and something that didn’t require any power tools. So what I’ve ended up with was just that, and I just had to buy some elbow grease!
So follow along to see how you can organise your threads the same way!
I knew even before I put the threads up on the wall, that good thread storage protocol meant keeping thread out of the light and keeping them dust free. But because I wanted to see all my pretty threads, I ignored all these warnings and decided to do it anyway.

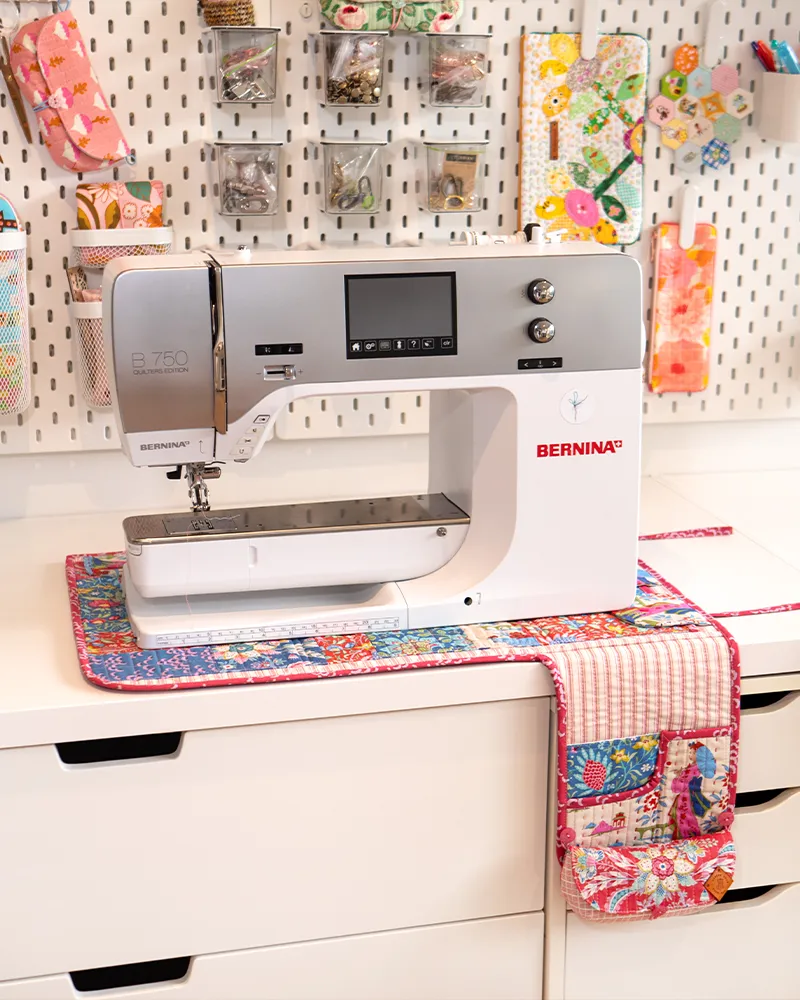
This pic is from 2016, after I had finished installing my pegboard set up, with a cross stitch design and everything hanging there on show.
Now, after having them up there for several years and seeing first hand how much I had to regularly remove coatings of dust and cobwebs, I decided enough was enough.
It was time to put everything away.
This is a reminder to me that life is a journey...I look back on this with fondness and nostalgia.
I loved it.
But my needs were evolving, and my style was changing, just like it always will.
I needed a new solution, but where would I store it all?
And where would I keep my threads?
I still wanted to be able to access them all easily, but not have to worry about them being damaged by light and dust.
When they were mounted on the wall on the pegboard, functionally it was a great arrangement, so I was a little bit disappointed to be changing it.
But what if I could keep them on the pegboard inside a drawer?!
And then I saw an image on Pinterest showing just that, I decided to have a go putting my thread away, on pegboard, in a drawer.
I cannot believe how well this works.

They’re hidden safely, but they’re right next to my machine where I can reach all of them without even getting up!
It makes putting them away again so easy too, and that’s another big win!
So here's the full tutorial for you, which costs very little and can be completed in an afternoon's work.
1. Gather Materials
I’ve used the Ikea Alex drawers because that’s what I had already, but this method will work for any set of drawers that are at least 10 cm (4”) deep.
I managed to salvage the pegboard from my wall, and by being slow and careful as we pulled it down, we kept the sheets intact, and also kept the dowels in place.
Because I didn’t start from scratch, my two drawers only took a couple of hours to complete. I only had to add in a few extra dowels.
I think if you started from this project from scratch, this would take you about twice that long, not counting the time allowing the paint to dry.

To get started you’ll need:
[4] 4 mm x 2.4 m dowels
Acrylic paint (spray paint or a roller and brush)
Scrap timber lengths 10 mm (3/8”) deep to use as temporary spacers
Newspaper or plastic to project work surface
Sandpaper
Woodworking glue – my craft glue was strong enough
Lid or small container to hold glue
Marking pencil
Utility knife (to cut the pegboard and dowels)
60 mm metal ruler
2. Instructions
1. Paint pegboard and dowels
Begin by painting the pegboard with the spray paint or roller.
You can do this after you cut it, but if you’re going to do a do this for a few drawers then it’s easier to do first.
You can also paint the dowel before you cut it into shorter lengths, or cut it up first and then paint. It will just depend on the amount of space you have to work with!
Set aside to dry for an hour or so, depending on the weather and manufacturer's instructions.
2. Cut pegboard
To fit the pegboard into the Alex drawers, mark the pegboard to 550 mm x 270 mm (21.5" x 10.5"). If you're using a different sized drawer, just measure the length and width of the internal drawer and subtract 5 mm (0.25").
We wanted the threads to be centred in the drawer, so this took a bit more planning on where to cut the board so the holes would land in the centre. Refer to the photos if you want to get the holes centred in the drawer like we did.
To do this, mark the dimensions with a pencil, and then cut with the knife using your steel ruler as a straight edge, until you cut all the way through.
3. Cut dowels
Mark the dowels into 50 mm (2.5") lengths, and cut through with the knife. You can get 40 lengths from one length of dowel.
Rub each end on the sandpaper to remove any rough edges and tidy them up a bit.

4. Glue dowels in place
Cover your work surface to project from the glue mess.
Place a timber spacer on either side of the pegboard, to raise it up 10 mm off the table.
Pour a small amount of glue into a lid or small container, then dip the end of a dowel piece in, and place into a pegboard hole, until you feel that it touches the bottom.
Instead of placing mine vertically, I’ve pulled my dowels slightly off vertical so they lean, which means you can see more of the side of the spool when it's inside the drawer.
Whether you lean them forwards or backwards is a matter of personal preference. I don't really think it matters.

For an even tilt, try looking at the dowels from several different angles before the glue sets in place, to check that they are not skewy.

I chose to mount my smaller spools into the second shallower Alex drawer.
This is personal preference as the depth of the spools is the same regardless of the amount on them. I just have more of them and use them more often.
I found that 11 rows by 14 rows deep, left enough space at the back before they would become hard to access.
This makes a total of 154 spools in this drawer which is not bad!

Glue the dowels in consecutive holes a long a row, then miss a row of holes, and repeat.
If you’re going to put this in a deeper drawer, than I think you could probably put them all the way to the back, and hold even more.
I decided to put my larger spools in the third deeper drawer. Just adjust the spacing to every other hole, then miss a row, and offset the next row so they have more room between.
I’ve only put 55 dowels in my larger drawer thus far, as I don’t have that many large spools, but you can see that this will also hold a large amount of thread without breaking a sweat!
I can easily add in extra dowels later.
You could take the rows even further back as the depth of the drawer gives more clearance.

5. Place into the drawer
When the glue has dried, slide the pegboard into the drawers, and load up with your thread!
The 10 mm clearance underneath gives good stability for the dowels. I haven't had an issue with them moving at all.
I use mine with the tilted dowels leaning away from me, but work out which way suits you best!
You can see how I currently use my drawers, with the top drawer being frequently used machine feet, needles, bobbins and things like that.

The empty space in the back of the drawer doesn't have to be wasted.
You can store small items or containers in the space behind the spools if you wish.
I’d love to hear from you if you make this for your own thread collection!
6. Pin for future reference!

Join my Facebook community

If you're a social bee, get involved with over 1100 sewists, quilters, and creators from around the world. Share your creations and get inspired!


