Sewing Space Station Mission 1: Getting Started
Your complete guide to sewing the ultimate sewing machine mat to organise your sewing space & get more sewing done.
If you're suffering from the age old problem of wanting to sew but not being able to find what you need, then this sewing mat is for you!
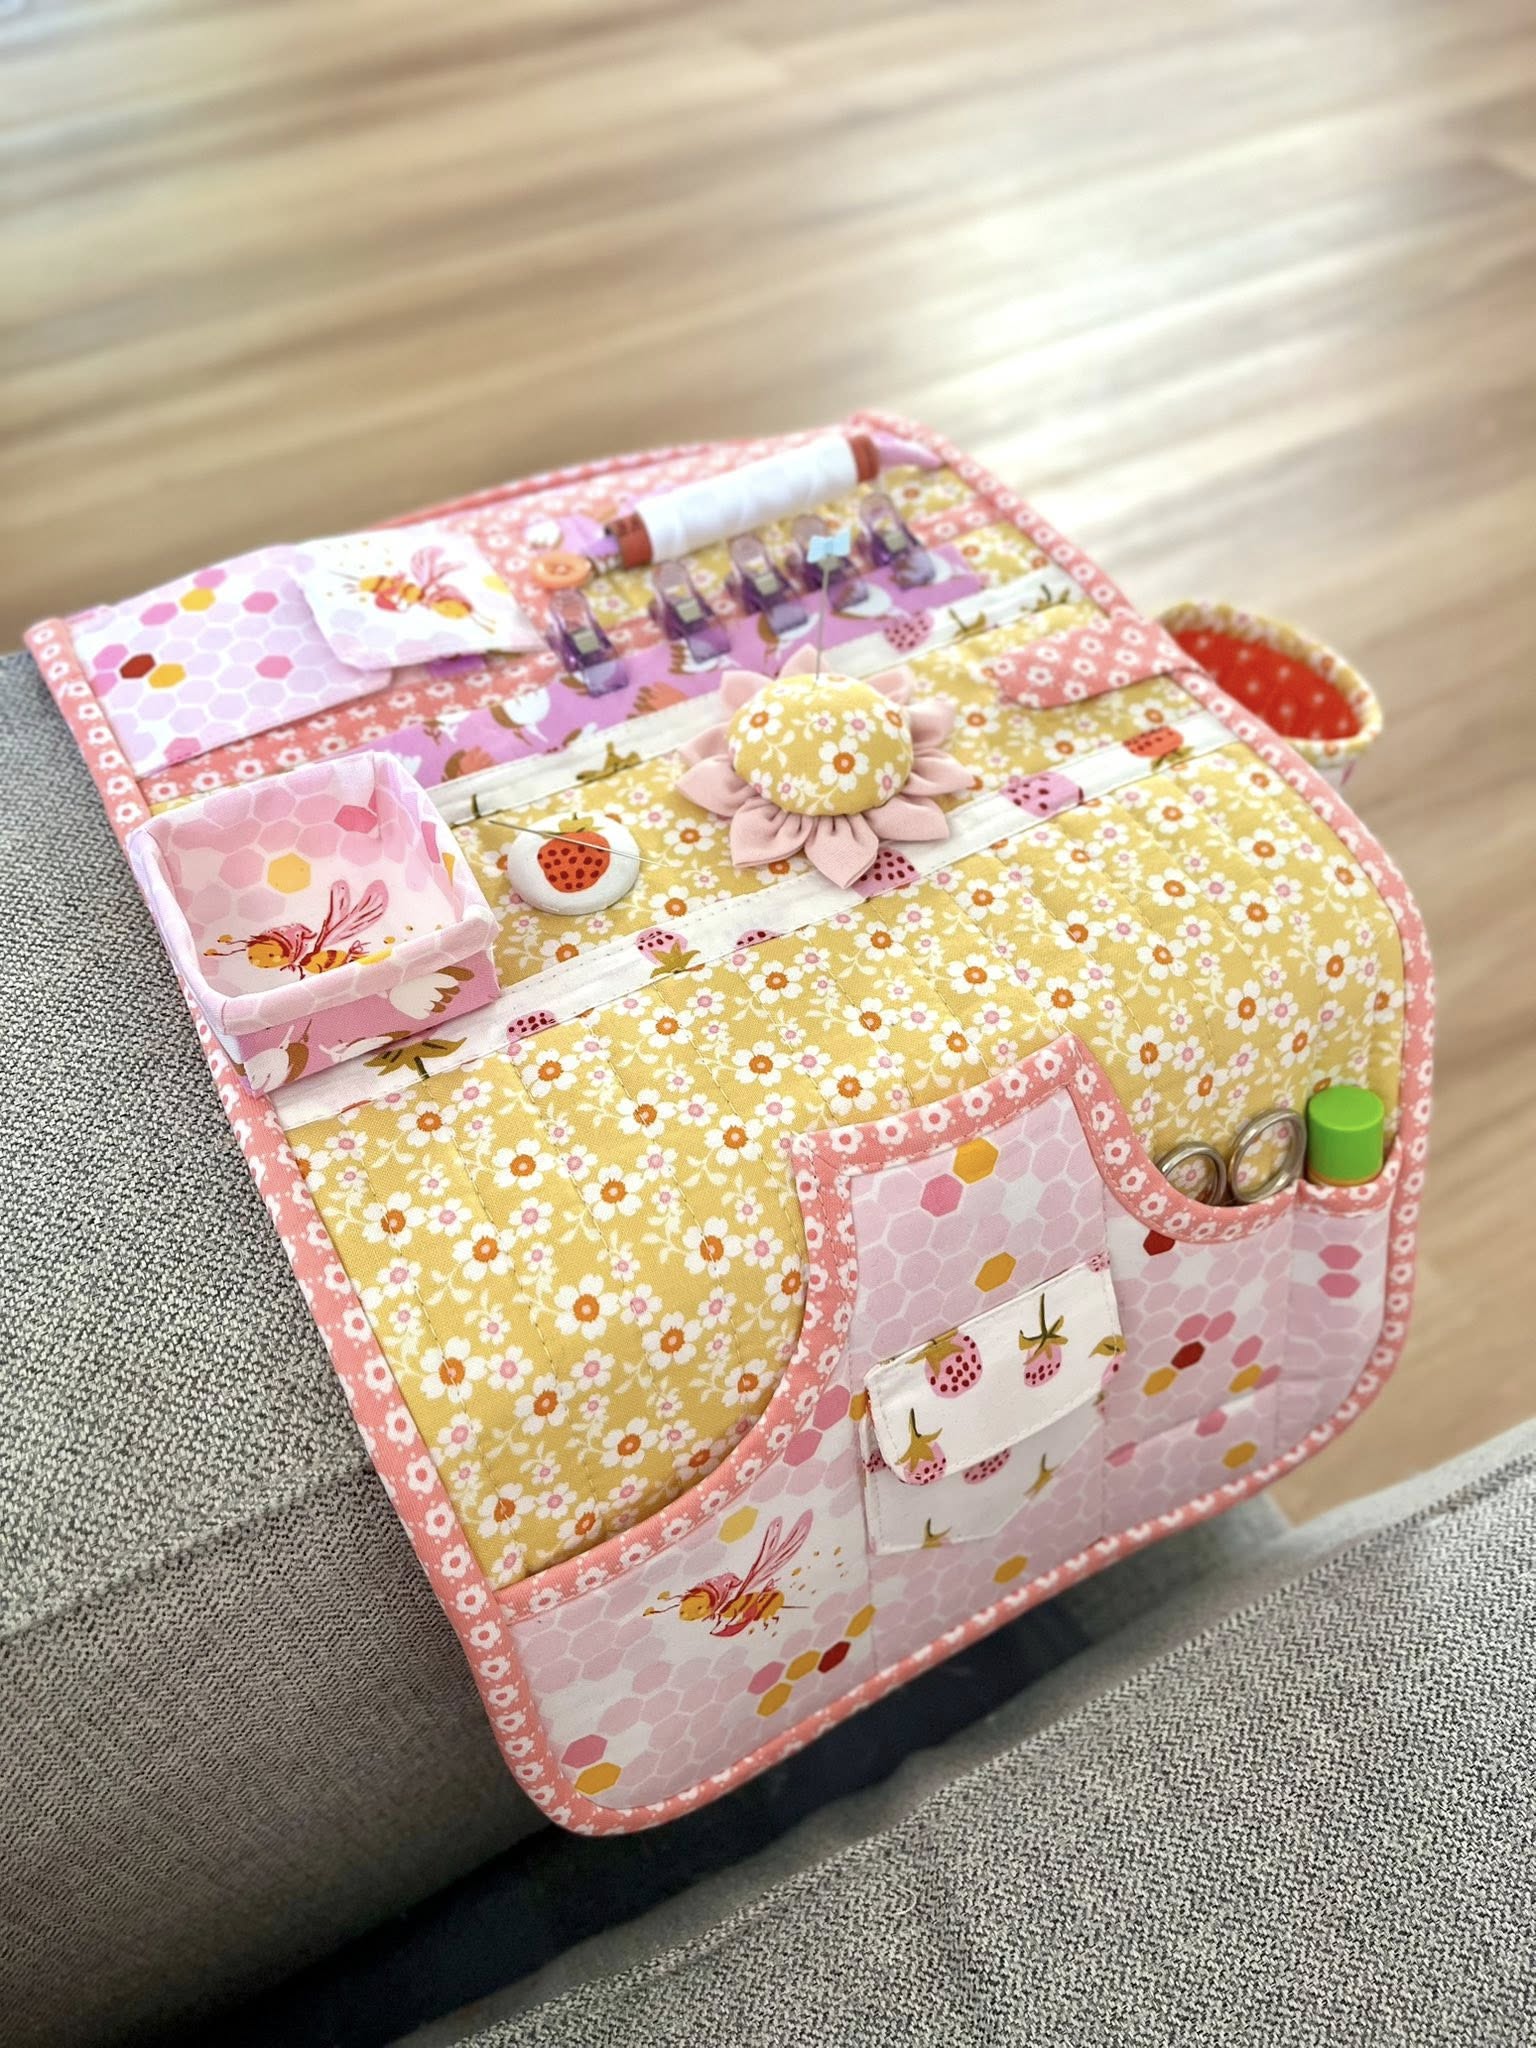
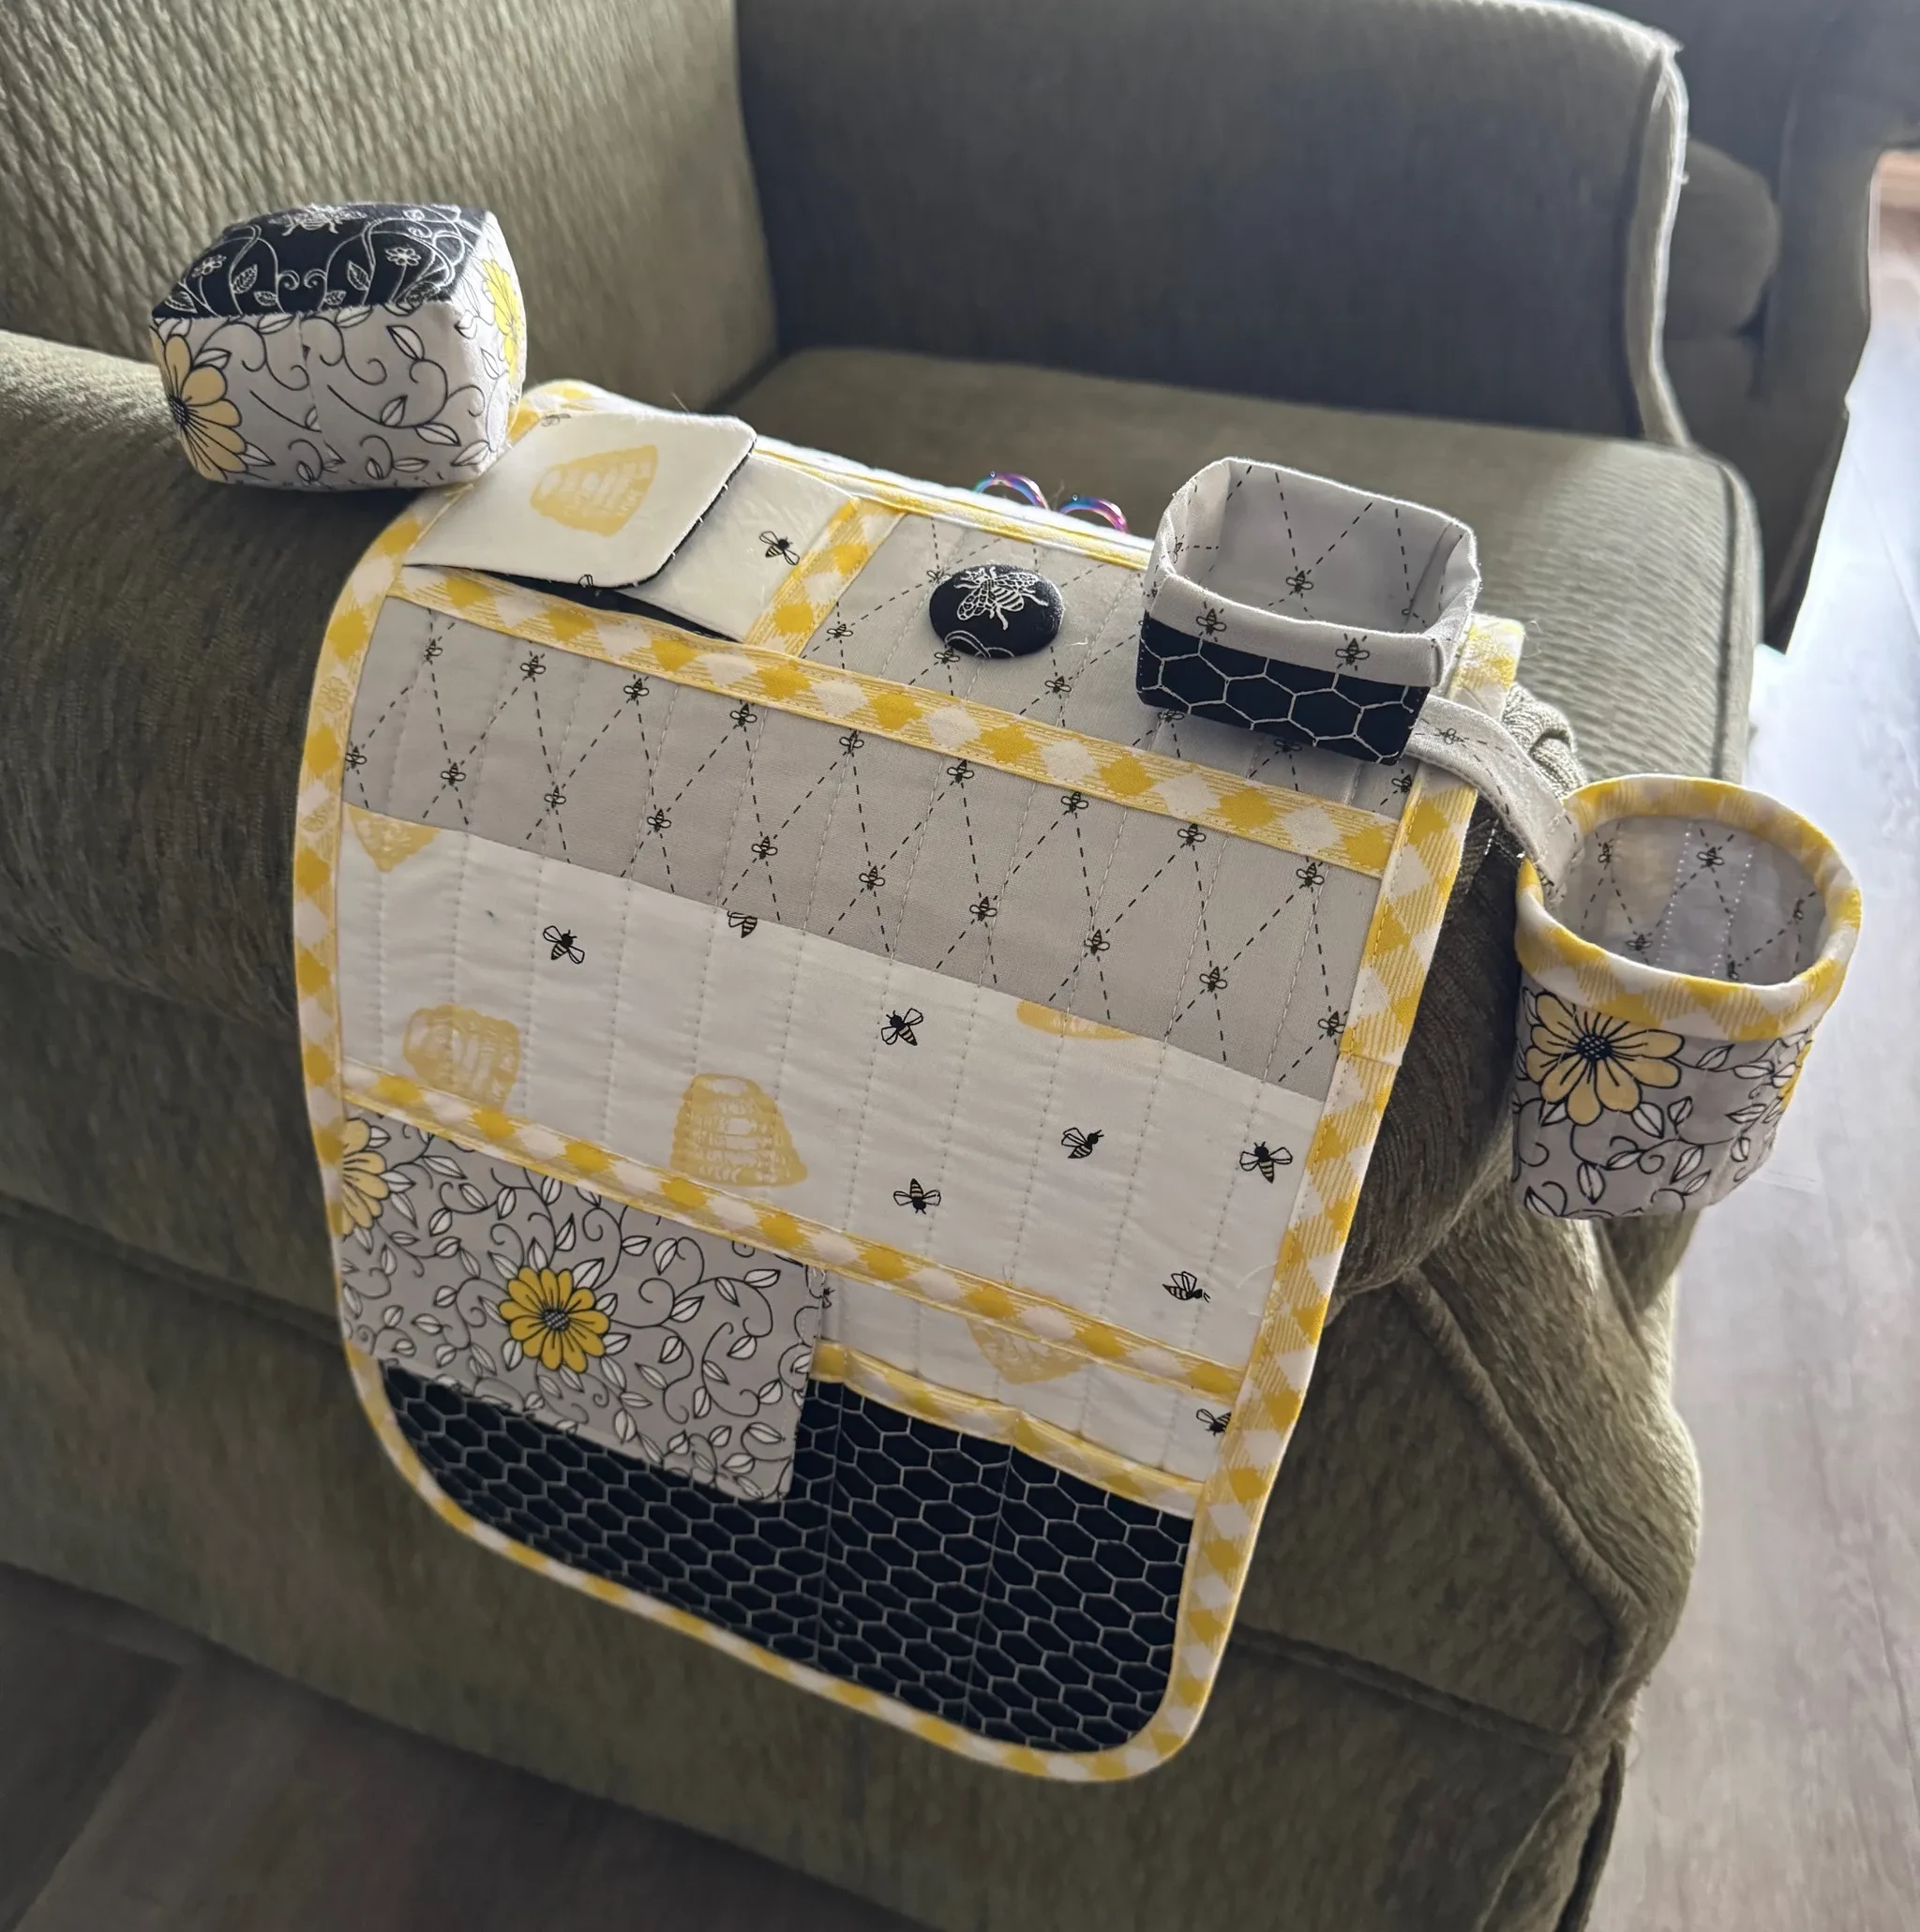
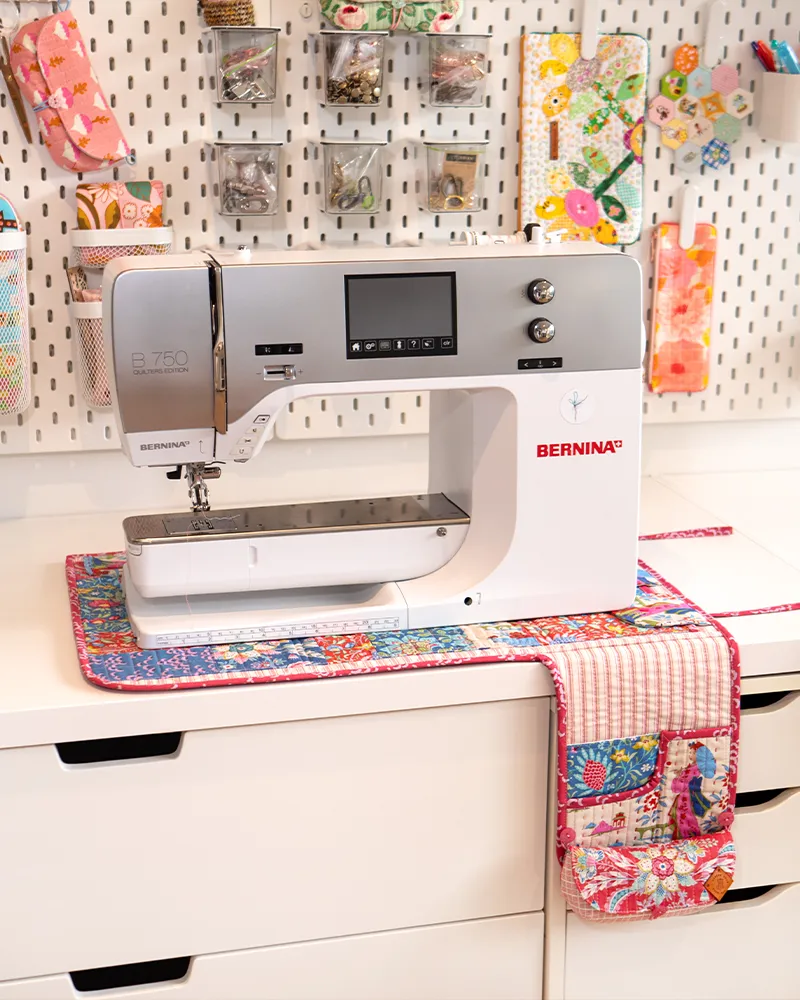
Welcome to the amazing Sewing Space Station, a sewing mat pattern with a difference.
This is a pdf pattern that teaches you how to use the space you have available to you, so you can get on enjoying the important bits - sewing beautiful things!
Whether you're a seasoned sewist or a relative beginner, my goal is to provide you with a supportive and encouraging environment to help you achieve a great outcome ... primarily a finished Sewing Space Station and a more organised sewing space.
I know that getting a large amount of information in a new pattern can be a bit overwhelming sometimes. So, in this series of blogposts, I've taken everything from the Sew-along that we did as a community and put all the tips and tricks into one place so it's super convenient.
And I have plenty of extra resources available for you, so make sure you check them out.
In a nutshell they're listed below and then I'll explain in detail further as we go:
- Start here by getting the pdf pattern here.
- The pattern is also available in paper format from stockists around the world.
- Facebook group: join the Facebook group community to find a supportive community to help you along
- Materials and Links: fabric amounts and where to find stockists for supplies are here. Click on each section for direct links.
- Kits: You can also ask your local quilt shop to stock and kit this for you. Put them in touch with me if don't currently offer this
- Download the free Blueprints planning sheet to plan your own version - to take the guesswork out of how it will look
- Fancy a personal tutor to take you through? Watch the YouTube videos that break this project down step-by-step
This is a perfect project when you don't have a sewing room and need to pack up each time you sew. It's perfect to keep your sewing room organised and also great to sew along with friends or at a retreat - share the process and overcome challenges even faster. My great hope is that along the way you'll have fun and enjoy joining in with others in a friendly community.
Supplies & Suitable Substitutes
You're going to need some fabric to sew this (obviously!) You can make this whole thing out of one large piece if you wish, but I've written this pattern specifically so you can sew this with a nice range of fabrics, while not wasting much at all. You can even use your scraps, and I have another tutorial for piecing a Scrappy Patchwork version here.

This pattern specifies some particular supplies which you may not be able to access in your part of the world, or you may wish to use what you have on hand already. So here's some options to substitute or make this work with what you've got.
- Fusible fleece - this is simply batting (wadding) with a fusible glue on one side. There are lots of brands out there that are all great. I like Pellon987F and Heat'n'Bond Fusible Fleece. You can also use normal batting and baste it using your favourite method.
- Woven Fusible interfacing - I love the Pellon SF101 brand and I buy mine on Amazon, but if you can't get that, try Birch Shape-to-Create in Australia and Vilene 6700 in the UK - this adds great stability to fabric without changing the texture.
- Bias binding - you can purchase a pre-made one if you don't wish to make this but making from scratch gives you unlimited options watch my bias binding cutting out video here to see how easy this is to make. Bias binding is essential for getting a smooth finish to curved edges and while it takes patience to apply, the result is always worth it!
- Cam snaps - I think these are the best thing since sliced bread! If you haven't tried these, don't be daunted. You can buy an inexpensive kit that gives you a lot of colour choices. They're really really easy to insert so give them a try! If you would prefer to substitute, try press studs, velcro, or some flat buttons that won't add a lot of thickness to the project.
- Elastic - I've found the 2mm diameter round elastic to be the most user-friendly way to attach the Cargo Bay pouch to the tool panel and also as the fastener for the pouch. That little bit of stretch makes all the difference. If you can't get this, substitute a different narrow elastic preferrably. If you really can't get any of this try a narrow cord or ribbon.
- Buttons - have fun with these! I love using vintage buttons that make a statement. They don't even need to match - show off your own personality with something special!
For some in-depth instruction, check out the introductory YouTube tutorial and also the 2nd YouTube tutorial.
Tips for getting started:
When you've collected all your supplies, it's time to get started on the pattern.
- Read right through and maybe read through again a second time. When you first see a lot of information it's A LOT. But your brain will make sense of it if you give it a chance.
- just print the first page of templates from the pattern to start with, to double-check your scale square is the right size. Then print the rest.
- if you struggle to visualise the finished look of your project, try cutting out swatches of fabric and glue them to your Blueprints sheet to avoid disappointment at the end. This doesn't lock you into a plan as you can still change your mind later on, but it helps you move forward with more certainty
- keep track of your pieces you've cut out by checking off each item on the cutting chart and make sure you don't miss anything
- stack each piece of fabric together with the interfacing and fleece and clip the pattern piece or label onto the front.

- store your unfinished project in a large container to keep everything organised and stop pieces getting lost, particularly if you know this will take you several days to sew.
I know I like to visualise everything as much as possible, so grab the fabric layout download here. This will also help you make sure you cut any directional fabric pieces correctly to avoid anything being upside down or sideways that you didn't intend!

Here's some options for you if you'd like to sew your Base and Top Pocket Panel out of more than one piece of fabric:
- Put your scraps to a good use and create a scrappy patchwork version. Here's a link to a free tutorial to make the same version I've created
- Why not create an abstract mini-quilt and make a feature out of these pieces that really pops?! This would look amazing when you take it to your sewing retreats!
You can find the first live video I made for the Sew-along (no longer live!) here where I share even more tips.
Quilting ideas
Don't be daunted by having to quilt some panels - it doesn't have to be fancy to look amazing.
If you'd really like to skip this step consider sending this out to be long-armed. Then you can choose from a huge range of repeating stitch patterns to enjoy! Note: this will mean that you will have to bind that 'finished edge' on the Top Pocket Panel from Step 2 of the pattern.

Most of the time I do straightforward straight lines in a variety of patterns - I like a regular grid, diamonds or irregularly space lines.

If you're not super comfortable stitching straight lines:
- Try ruling some guidelines to sew along with a fabric safe pen and practice your straight sewing ... I guarantee you'll be a better sewist at the end!
- Remember longer stitches look great when they're on show so lengthen your stitch length to 3.5-4.5.
- Remember your bobbin thread will be showing so choose a colour you'd like to see
Trouble shooting
Most of the trouble I run into when sewing is because I didn't read the pattern through carefully to begin with, so ... don't be like me! Take the time to read and understand the steps. The most common mistakes I've seen sewists make in this pattern are:
- Forgetting to finish the edge on the Top Pocket Panel before quilting it, (see fig 1 of the pattern!) But really it's no big deal! Just bind this edge along with the other two and the problem is solved
- Rounding the wrong corners - this happens because you've usually got the panel facing the wrong way up. Make sure the Base Top is facing right side up. If you do accidentally cut the wrong corners try zigzagging these with satin stitch to seal the raw edges and then sew to some more fabric and re-cut the corners square. You can also try binding just these corners and doing the same. It's not a perfect fix but you won't waste all that fabric
Modifications
If you're confident you understand the pattern enough to modify it - than go right ahead! I'm all for you taking my instructions as a springboard to developing a project that really suits your needs.
So if you'd like to:
- create a left handed version - you will need to reverse several of the templates, and flips several of the steps in the pattern but this is completely doable. Remember that if you do sew the tool panel to the left-hand side it will be hanging right in your lap and your project will cover it as you sew, potentially getting your tools caught up in it. FYI - I am a leftie myself and have no problem using mine on the right-hand side.
- Change the size - this is easy to do. I've designed the mat to fit a range of domestic machines ranging from pretty small up to the Bernina 7 series and the Janome M7. You can certainly extend the length and depth, but be aware that if you would like to also extend the Top Pocket Panel, the pocket sections and flaps will need adjusting too
- cut the Base and Front Panel all from one piece - you can certainly do this and then you'll avoid that pesky joining seam. Here's why I've written the pattern like this: To make this all in one large piece, you will need to start with a larger overall piece of fabric, and you will have a large part of it left over that remains unused. The way I've written the pattern maximises the footprint of the fabric you need and allows for a larger range of fabrics to be used (which is personal preference, but many sewists like to use several fabrics). Also, you'll be manoevering a large and awkwardly shaped panel throughout the whole project, which makes it harder to sew neatly, rather than just managing this for a short time near the end. You can weigh up all of these things and decide whether you prefer to make it this way.

Once again, the hardest part of any project is just starting, so I hope these tips are helpful to get this pattern out of your inbox and onto your sewing table!
Click here to move to Part 2 of this blogpost series where you'll be sewing the Front Tool Panel.
Join my Facebook community

If you're a social bee, get involved with over 1100 sewists, quilters, and creators from around the world. Share your creations and get inspired!


